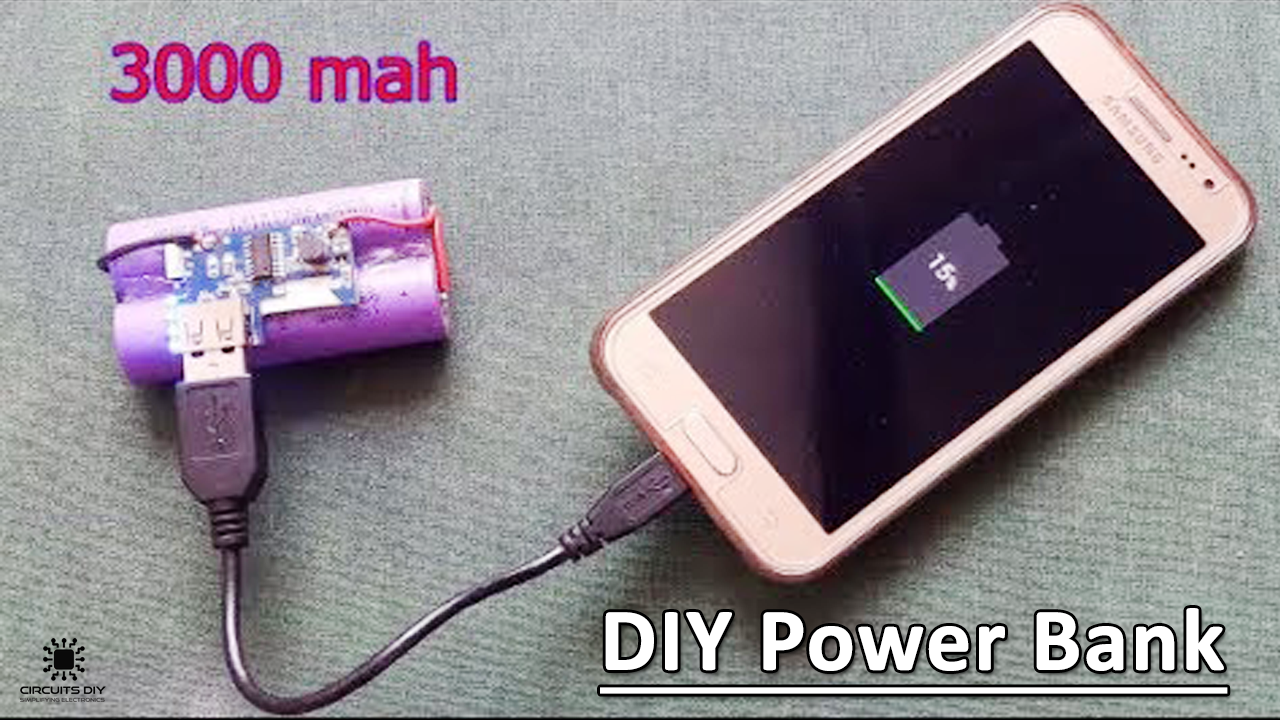
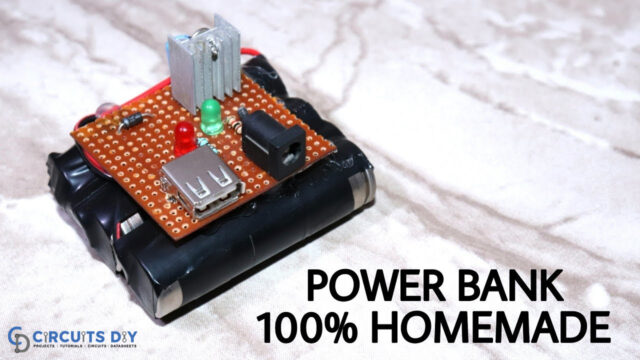
Power Banks can be really expensive when bought directly from the market but are a necessity as well. But did you know that you can make your own if you have the parts lying around?
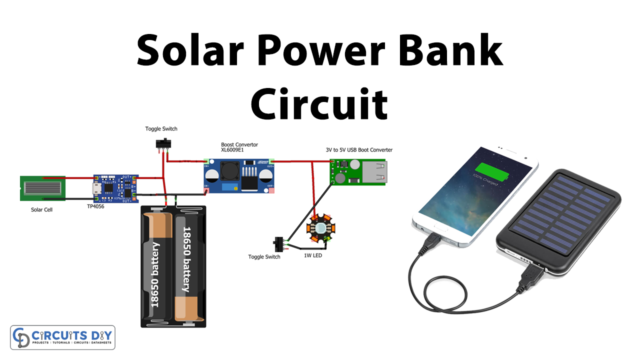
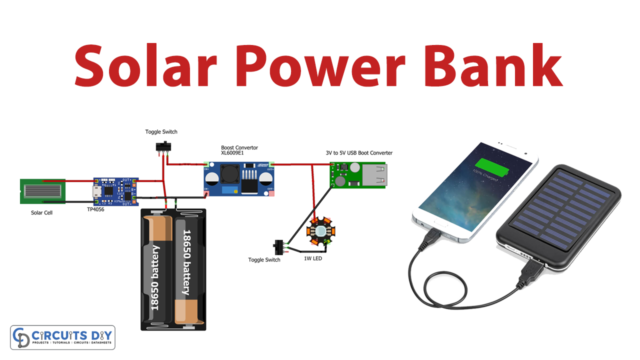
The requirements for the project require you to get a 18650 Li-Ion battery and a Power Booster module. The module can be purchased from Aliexpress or the sort and battery from the market or scavenged from an old laptop battery.
Disclaimer: Please be careful with the Li-Ion Battery and avoid exposing it to temperature for a longer period.
Hardware Requirements
| S.No | Component | Value | Qty |
| 1. | Li-Ion Battery | 18650 | 1 |
| 2. | Wire (for connecting) | – | 20cm |
| 3. | Power Booster Circuit | 3.7V, 5V | 1 |
| 4. | Double Sided Tape | – | 7cm |
| 5. | Soldering Iron | – | 1 |
| 6. | Soldering Wire | – | 1 |
Procedure
- First step is to glue the 2 batteries together (you can glue and parallel as many as possible but for this tutorial we will use only 2). Make sure to keep the positive sides together and the negative together (for parallel combination):
- Apply solder on the top to make it being able to solder a wire on, a small drop would do. The negative and the positive sides:
- When that is done, solder a wire between the positive sides and the negative sides:
- Take the power booster module and after soldering its wires, apply double sided tape on the area not exposed with circuitry preferably:
- Solder the wires from the power booster module onto the positive terminals of the batteries to the positive of the module and same for negative:
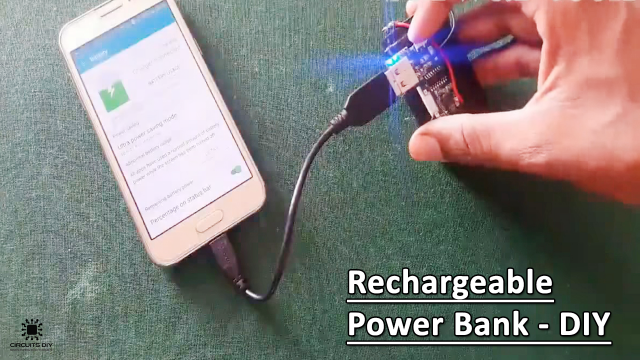
- Now test the charger out by connecting it to your phone, and your done!
Explanation:
The main brains of this is the 3.7V to 5V DC Power booster module. It converts the 3.7V from the battery to 5V that enables us to charge the batteries. Also the charging circuitry is also in the same module. You can add as many batteries as you want in parallel configuration which will help to increase capacity.


