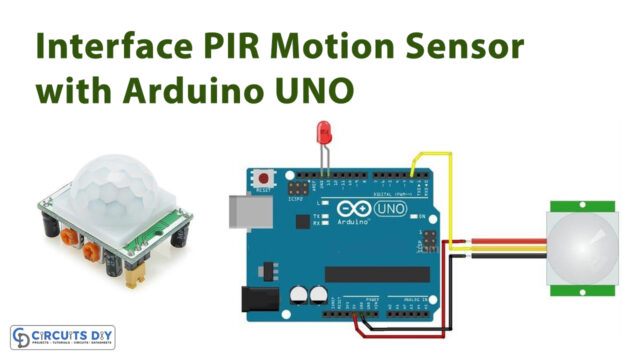
In this tutorial, you will learn how to interface the PIR motion sensor with Arduino. It allows you to detect motion. This is the type of sensors that are used to detect if a human had traveled in the sensor’s range or traveled out of the range. PIR stands for ‘Passive Infrared’ and sometimes also known as IR motion sensors. An led is connected to the output of the sensor. When this sensor detects a movement it lights up the LED. With the help of the PIR sensor, it has become very convenient to detect the motion of humans and animals.
Hardware Components
| S.NO | Component | Value | Qty |
| 1. | Arduino | Uno R3 | 1 |
| 2. | USB Cable A/B | – | 1 |
| 3. | Breadboard | – | 1 |
| 4. | Connecting Wires | – | 1 |
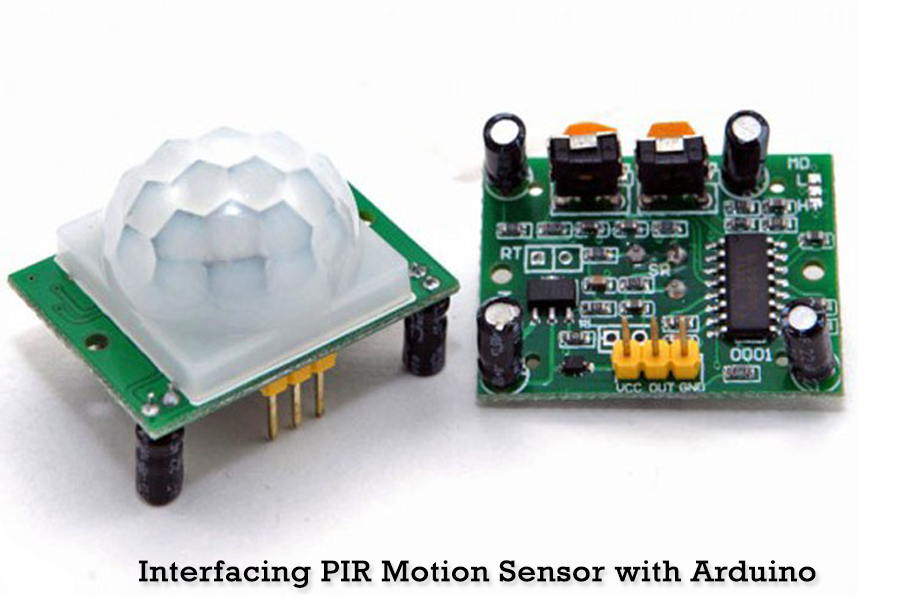
| 5. | PIR Motion Sensor | – | 1 |
Working Explanation
The PIR motion sensor has two important parts present inside it. One is the pyroelectric crystal and the other is a Fresnel Lens. The basic principle of the pyroelectric crystal is when it is exposed to heat, it will produce energy. So whenever any living body that is human or animal comes into the range of the sensor the sensor will detect motion across it as the humans and animals eject heat energy in the form of Infrared radiation. This process defines the name of the sensor which is passive Infrared. As the sensor is not using any energy externally.
It only works on the energy given by the human and animals so that’s where it is termed as passive. The sensor module also has the Fresnel lens which is used to widen the range of the motion sensor. The sensor works into two modes “non-repeatable trigger’, the sensor output is high until the delay time is over. The other mode is “Repeatable trigger ” in which the output of the sensor will remain high for the time until the human or animal comes on its radar.
Applications
- Shopping Malls
- Basement or covered parking area
- Outdoor lights
Circuit Diagram

Code:
//the time we give the sensor to calibrate (10-60 secs according to the datasheet)
int calibrationTime = 30;

//the time when the sensor outputs a low impulse
long unsigned int lowIn;

//the amount of milliseconds the sensor has to be low
//before we assume all motion has stopped
long unsigned int pause = 5000;

boolean lockLow = true;
boolean takeLowTime;

int pirPin = 3;    //the digital pin connected to the PIR sensor's output
int ledPin = 13;


/////////////////////////////
//SETUP
void setup(){
  Serial.begin(9600);
  pinMode(pirPin, INPUT);
  pinMode(ledPin, OUTPUT);
  digitalWrite(pirPin, LOW);

  //give the sensor some time to calibrate
  Serial.print("calibrating sensor ");
    for(int i = 0; i < calibrationTime; i++){
      Serial.print(".");
      delay(1000);
      }
    Serial.println(" done");
    Serial.println("SENSOR ACTIVE");
    delay(50);
  }

////////////////////////////
//LOOP
void loop(){

     if(digitalRead(pirPin) == HIGH){
       digitalWrite(ledPin, HIGH);   //the led visualizes the sensors output pin state
       if(lockLow){
         //makes sure we wait for a transition to LOW before any further output is made:
         lockLow = false;
         Serial.println("---");
         Serial.print("motion detected at ");
         Serial.print(millis()/1000);
         Serial.println(" sec");
         delay(50);
         }
         takeLowTime = true;
       }

     if(digitalRead(pirPin) == LOW){
       digitalWrite(ledPin, LOW);  //the led visualizes the sensors output pin state

       if(takeLowTime){
        lowIn = millis();          //save the time of the transition from high to LOW
        takeLowTime = false;       //make sure this is only done at the start of a LOW phase
        }
       //if the sensor is low for more than the given pause,
       //we assume that no more motion is going to happen
       if(!lockLow && millis() - lowIn > pause){
           //makes sure this block of code is only executed again after
           //a new motion sequence has been detected
           lockLow = true;
           Serial.print("motion ended at ");      //output
           Serial.print((millis() - pause)/1000);
           Serial.println(" sec");
           delay(50);
           }
       }
  }