Introduction
In many of the projects, we print the messages on the Serial monitor. But, the monitor may not become be a part of compact devices that need to display the messages. For instance, take an example of a small weather station that is used in industrial and other automation to display the weather conditions. This portable device must need anything that receives the message and display that, Here comes the LCD.
Also, when we print the messages on the serial monitor, it contains both numbers and characters both. However, if you specifically require printing the character, use the character LCD which we are going to discuss in this tutorial. So, in this tutorial, we are going to interface ” 16×2 Character LCD Module with Arduino UNO”.
An Overview About Character LCD
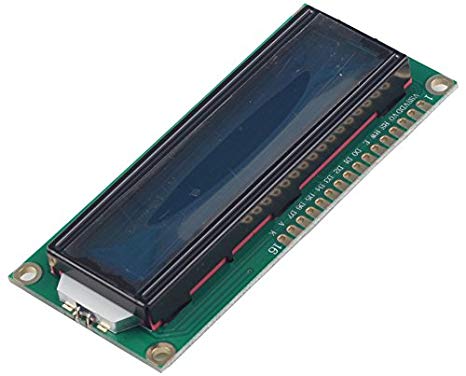
This character LCD comprises 16 columns and two rows. Hence it can print 32 characters, 16 characters in each row. A character is made up of 5* 8-pixel dots. This means, every character is made from 40 pixels and 32 characters may have 1280 pixels. On the backside of the LCD, the board contains the integrated circuit HD44780 that is used to get the command and data and process those commands to display the message on the LCD screen.
This LCD module is mostly used in embedded electronic projects. The module is more promising because of its cheap prices and easy availability in the market. The module has sixteen pins that contain the ground, Vcc, Vo, RS, R/W, Enable, data pins, etc. There is no doubt about the functionality and cheap prices f this module. However, the module needs many pins to an interface which makes it a little difficult to handle.
Features of Character LCD
- The LCD operates from 4.7V to 5.3V
- Without the backlight, the LCD consumes 1mA of current.
- The LCD can work on 4-bit mode and also on 8-bit mode.
- The screen can display any custom-generated characters.
- The LCD is available in the electronic market in green and blue backlights.
Hardware Required
| S.no | Component | Value | Qty |
|---|---|---|---|
| 1. | Arduino | UNO | 1 |
| 2. | USB Cable Type A to B | – | 1 |
| 3. | Jumper Wires | – | – |
| 4. | Character LCD Module | 16×2 | 1 |
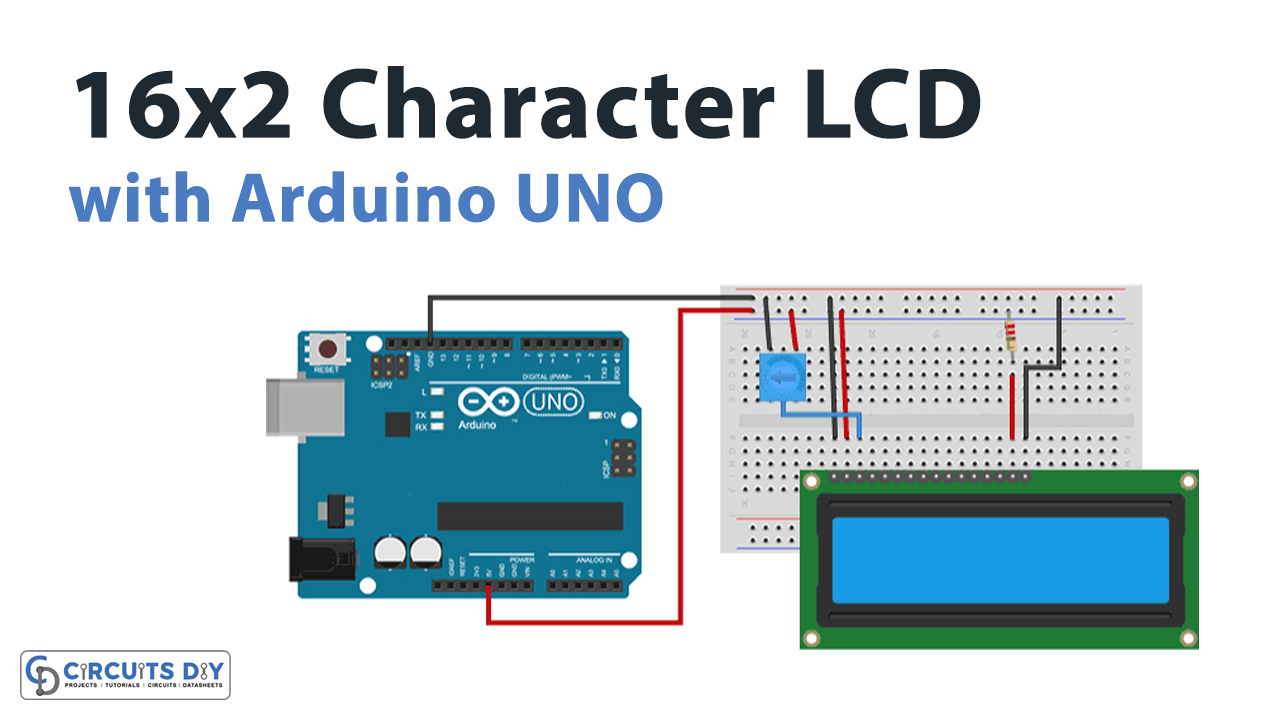
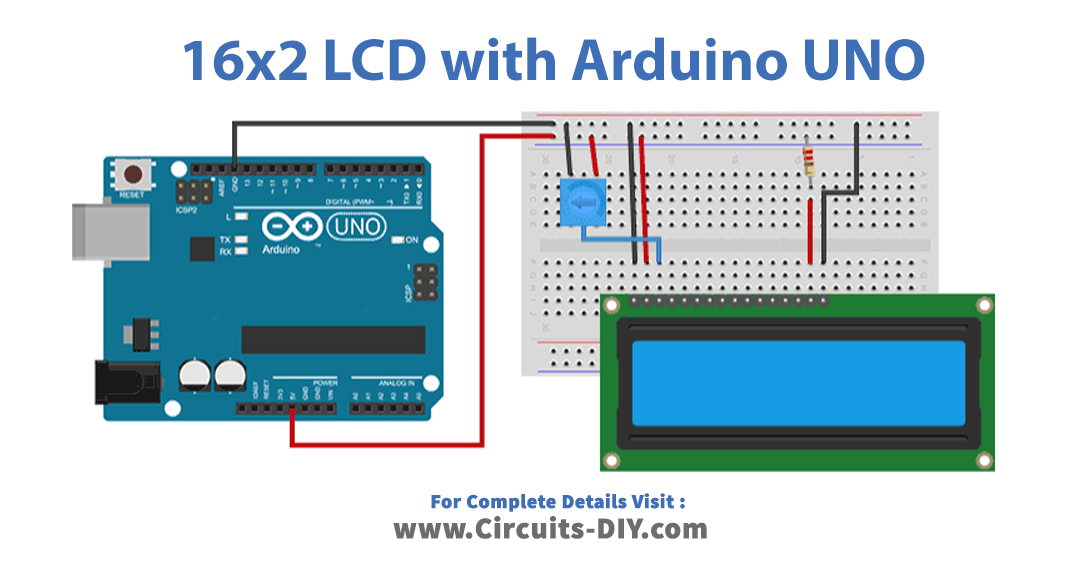
Circuit Diagram
Arduino Code
// include the library code:
#include <LiquidCrystal.h>

// Creates an LCD object. Parameters: (rs, enable, d4, d5, d6, d7)
LiquidCrystal lcd(12, 11, 5, 4, 3, 2);

void setup()
{
	// set up the LCD's number of columns and rows:
	lcd.begin(16, 2);

	// Clears the LCD screen
	lcd.clear();
}

void loop()
{
	// Print a message to the LCD.
	lcd.print(" Hello world!");

	// set the cursor to column 0, line 1
	// (note: line 1 is the second row, since counting begins with 0):
	lcd.setCursor(0, 1);
	// Print a message to the LCD.
	lcd.print(" LCD Tutorial");
}
Working Explanation
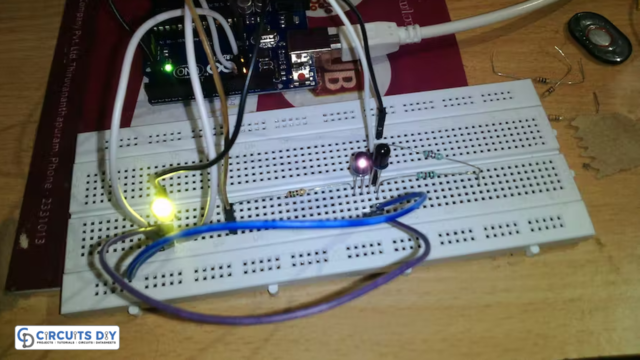
Connect 16×2 Character LCD Module with Arduino UNO according to the given diagram. Then write the code given in this article. Now, upload the code. See the message that would appear on the LCD screen.
Code Explanation
- Download and install the library for liquid crystal display. You can download the library from;
https://github.com/arduino-libraries/LiquidCrystal
- Include the liquid crystal library. create the liquid crystal object called LCD. The object has six parameters that show the Arduino pins which are connected with RS, Enable, data pins (d4, d5, d6, d7) of the module.
- In the void setup, initialize the LCD by LCD. begin( ). Hence in the bracket define the parameters, that is column and row respectively. use LCD. clear to clear the LCD.
- In the void loop, print the message Hello world1 by using LCD. print. Use setCursor( ) and specifies the position for the next message by defining rows and columns. After that, print the next message.
Application and Uses
The display can be:
- Used as the calculator screen.
- Employed for the mobile phones.
- Preferrable for TV screesns
- Adopted as the computer screens.