A Power bank is a simple portable battery that uses a specific circuitry to control any power in & power out. The usage of power banks has increased tenfolds in our daily & it almost serves as an essential daily driver for many people. Being considerably expensive, power banks require proper care in terms of preventing overcharge/undercharge & failure to do so can result in your power bank becoming unable to hold charge & in some cases charger board failure. So, in this article, we are going to go over a step by step procedure on ‘How To Repair A Power bank’ easily at home using a minimalist approach and a small number of components.
Power Bank?
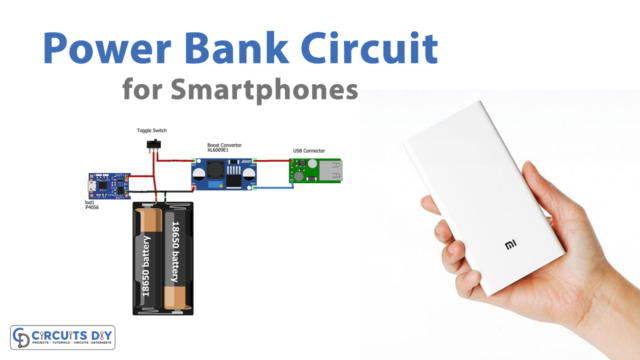
A power bank is a simple electronic device that has 3 main parts. A lithium-ion or Lithium-polymer rechargeable battery, a battery charger module (usually based on TP4056 IC ) & a DC to DC converter module based on pulse frequency modulation (PFM) technology.
JLCPCB is the foremost PCB prototype & manufacturing company in china, providing us with the best service we have ever experienced regarding (Quality, Price Service & Time).
Hardware Components
Gather the following parts to prepare for the repair
| S.no | Component | Value | Qty |
|---|---|---|---|
| 1. | Power bank & a micro USB cable | – | 1 |
| 2. | Charger circuit board | 5V/2A | 1 |
| 3. | AVO Meter | – | 1 |
| 4. | Soldering Iron | 45W – 60W | 1 |
| 5. | Soldering wire with flux | – | 1 |
| 6. | Flat Screwdriver | – | 1 |
| 7. | Connecting wires | – | As per need |
Steps To Repair A Powerbank
Following are the steps on How To Repair A Power bank at home.
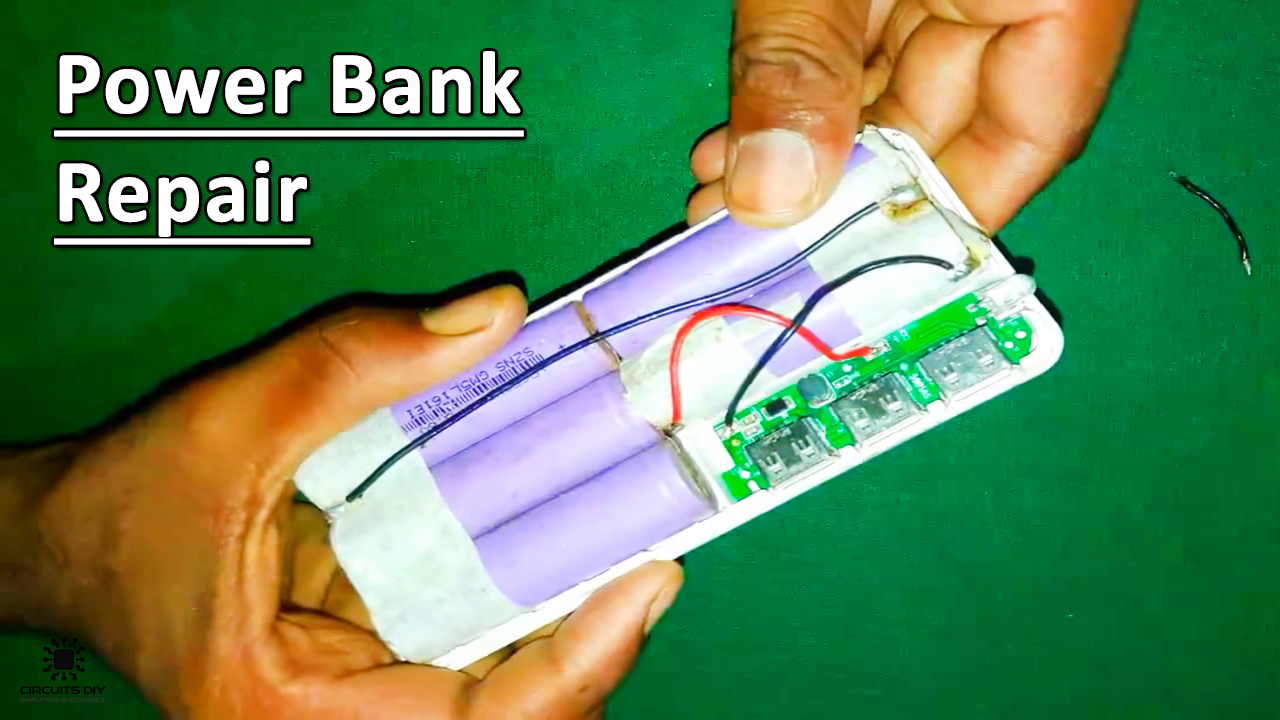
1) Remove the upper casing of the power bank with respect to the manufacturer guide. Use a screwdriver to provide extra leverage if necessary.

2) Remove chasis
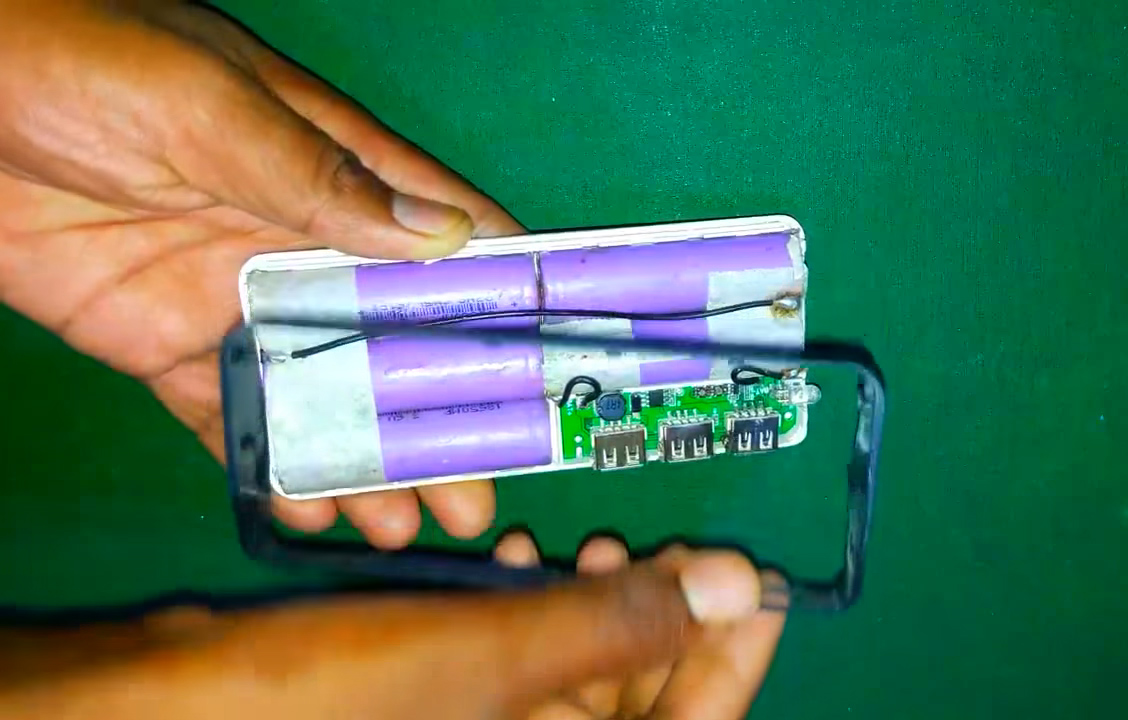
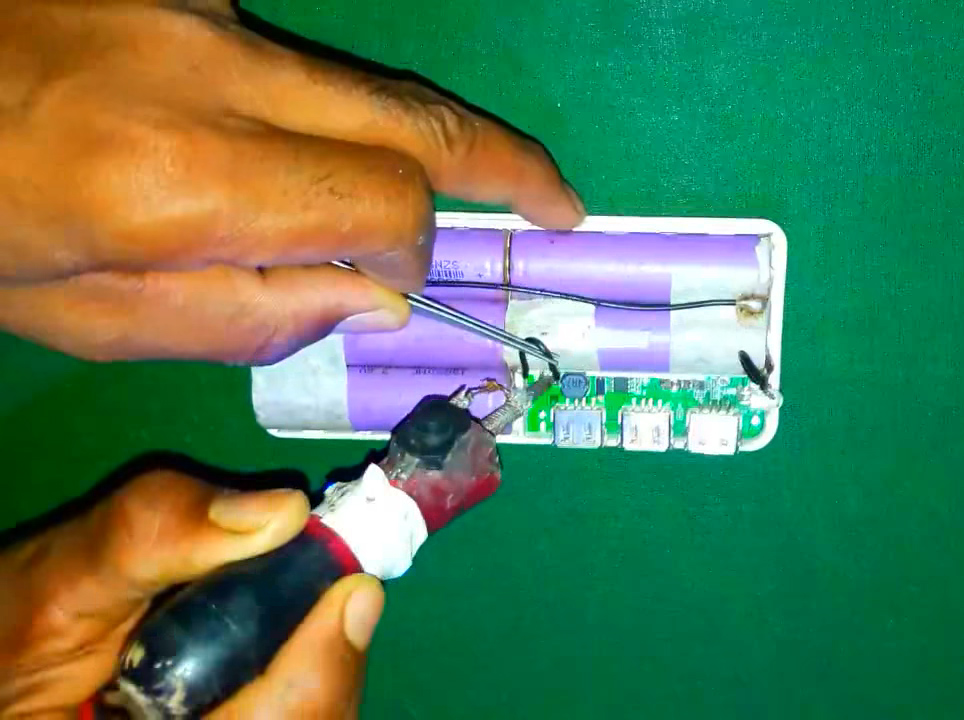
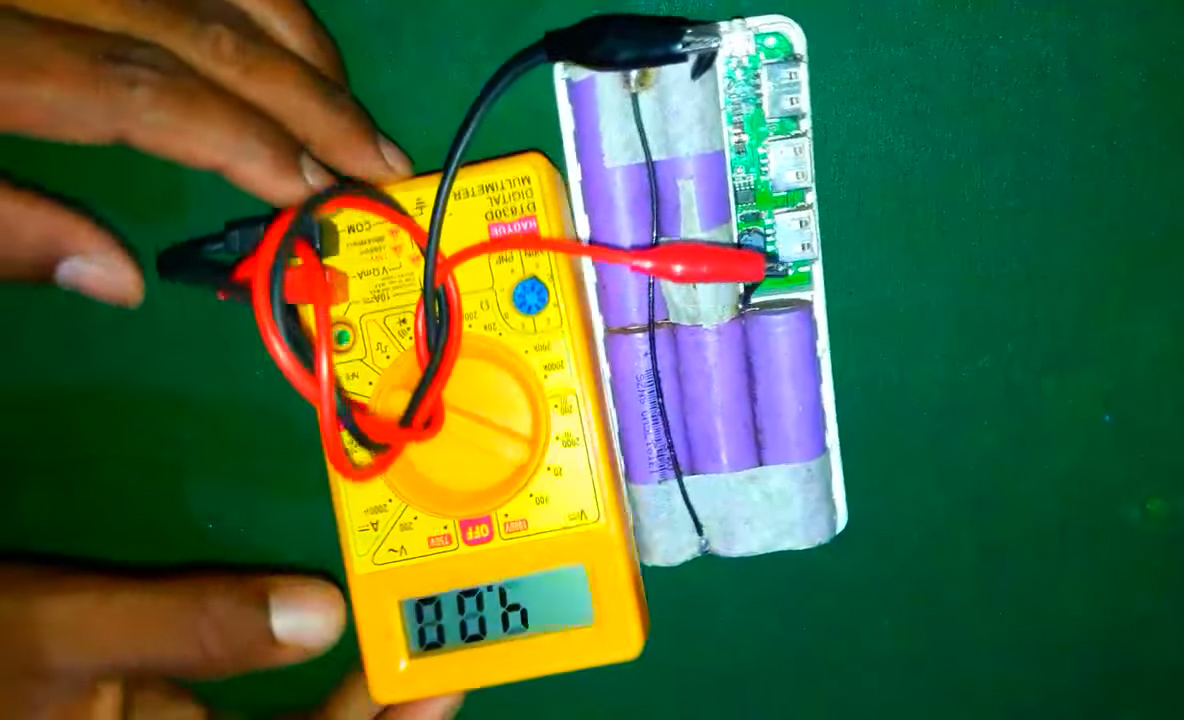
3) Begin by checking the battery: desolder the +ve & -ve terminal of the battery from the charger board circuit.
4) Connect an AVO meter to the -ve & +ve terminals of the battery & check the battery voltage. It should be as per the rating of the battery (around 4V), if it is less than 3.6V, then you have battery damage due to overcharge/undercharge. Replace the battery in such a case.
5) If the battery is in good condition, then the problem persists within the charger circuit board. See if there are any short resistor, capacitors or ICs on the board and replace them accordingly. If the problem still persists, then replace the charger circuit board.
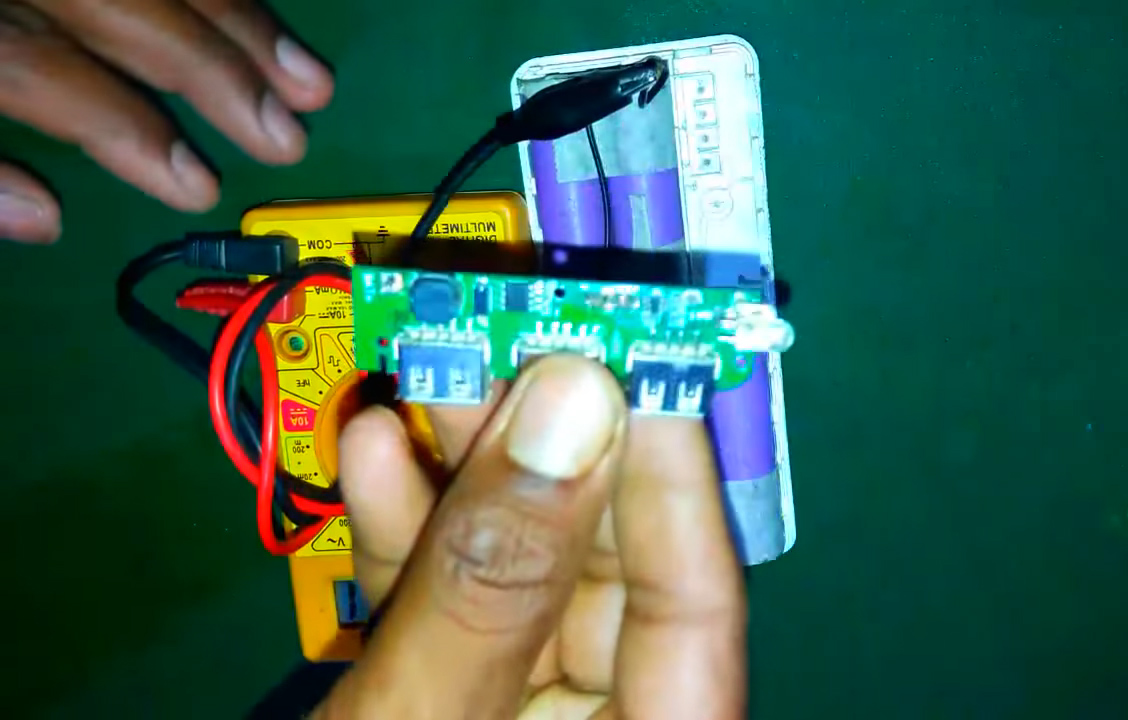
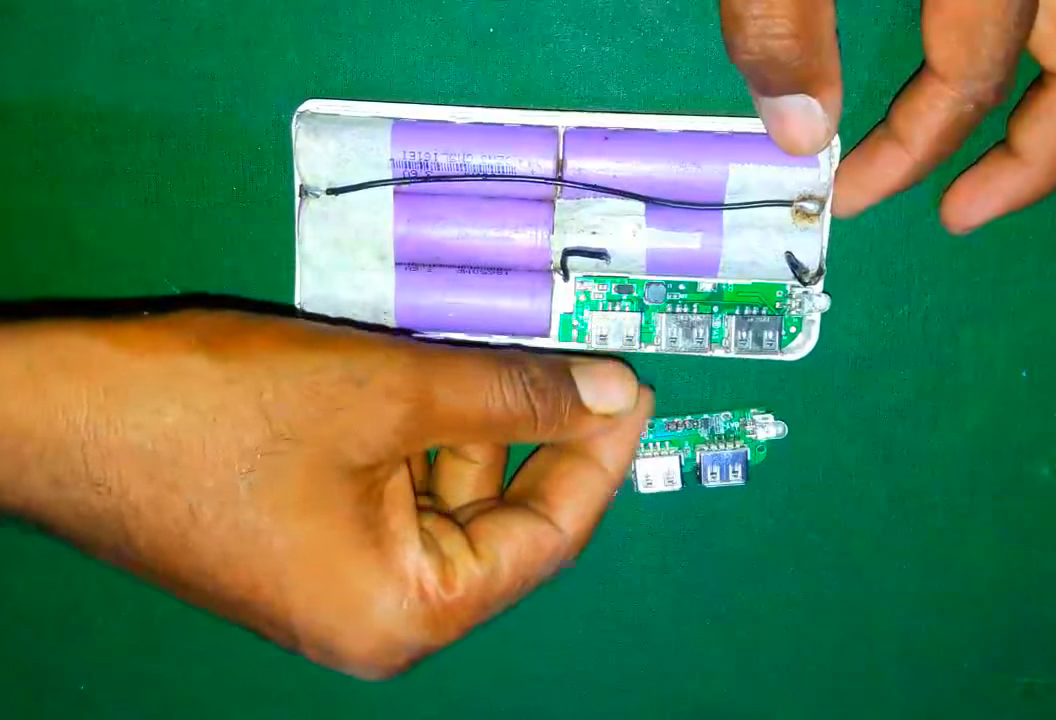
6) Replacing the charger circuit board: Remove the circuit board from the power bank & then install a new one of the same rating.
7) Solder the +ve terminal of the battery to the +ve terminal of the charger board circuit & then the -ve terminal of the battery to the -ve terminal of the charger board.
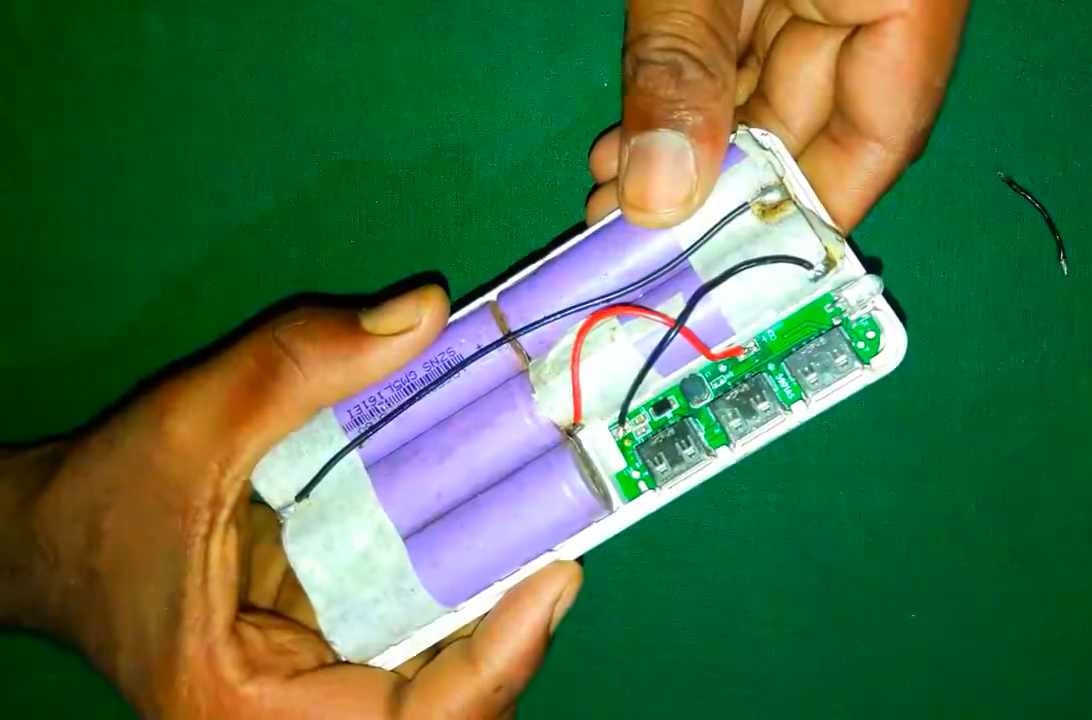
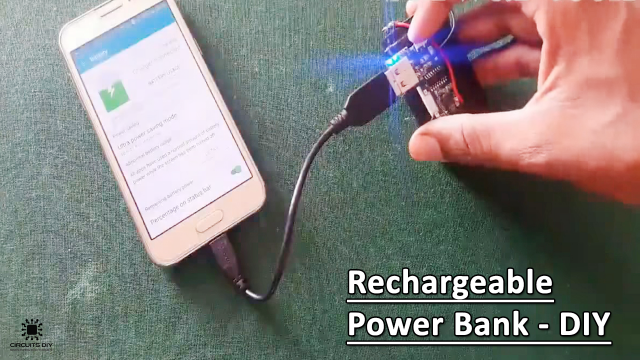
8) Close the body of the power bank. Switch it on & test the device.

Power Bank Repair Procedure
The troubleshooting procedure for a power bank is based around checking two issues.
- Faulty Battery: If the battery has gone through severe over/undercharge, then the battery will be unable to hold a charge for longer periods of time. In such a case permanent battery damage is likely to occur & battery replacement is advised.
- Faulty Charger Circuit Board: In case of overcharge, any discrete component (resistor, capacitor, ICs, bus) could have shorted, rendering the circuit to become open. In such a case identify the shorted component & replace them. In case a bus or trace has shorted, there are only two possible options, either to reroute the trace using a CNC machine or replacing the charger circuit board.
Tips & Precautions On How to Repair A Power bank
- Use a screwdriver to open the power bank case safely without any breakage.
- Avoid touching the PCB traces & discrete components with bare hands as the static charges on your could cause the terminal of the components to short. (use tweezers)
- Ensure the battery and charger board terminals are soldered in the correct order before turning on the power bank.