What is a Power Bank?
A Power bank is a portable rechargeable battery that provides access to an external charging source, especially when there is an absence of a wall charger. The market pertaining to the sale of power banks has enjoyed an immense rise, making it one of the most popular electronic gadgets money can buy. But with such an incredible gadget is associated an equally demanding price tag. Luckily, in this article, we will go over a step by step procedure on How To Make Rechargeable Power Bank (1000mAH) Using A 4V DC Battery easily at home.
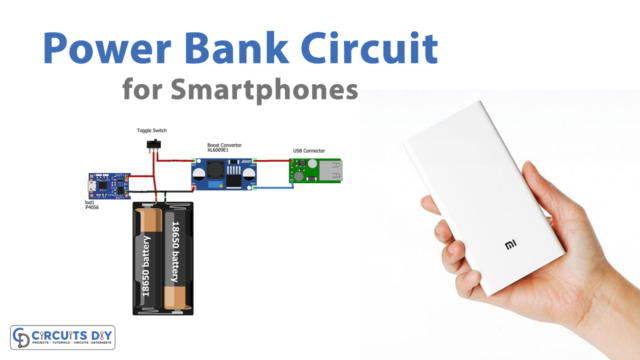
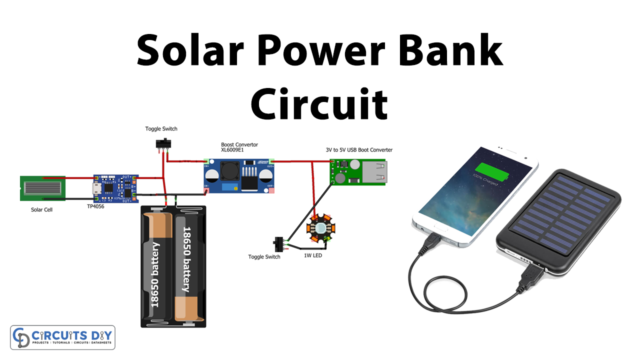
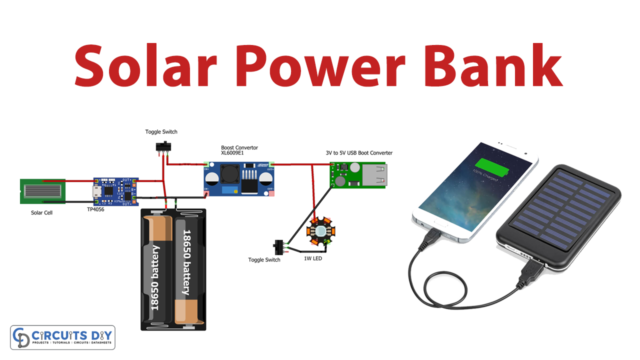
A commercially produced Power bank can generally be divided into 3 main parts. A Li-ion or LIPO (lithium polymer) rechargeable battery, a battery charger module (usually based on TP4056 IC ) & a DC to DC converter module. You will also need a Micro USB cable to interface the power bank to any external device.
JLCPCB is the foremost PCB prototype & manufacturing company in china, providing us with the best service we have ever experienced regarding (Quality, Price Service & Time).
Hardware Components
You will need the following parts to build this project.
| S.no | Component | Value | Qty |
|---|---|---|---|
| 1. | DC Battery | 4V/Lead Acid | 1 |
| 2. | Charger circuit board with DC converter module | 3.7V/5V 1A | 1 |
| 3. | Micro USB charging cable | USB to mini b/2A | 1 |
| 4. | Smartphone | – | 1 |
| 5. | Double-Sided tape | – | As per need |
| 6. | Soldering Iron | 45W – 60W | 1 |
| 7. | Soldering wire & Flux | – | 1 |
| 8. | Connecting wires | – | As per need |
| 9. | Scissors | – | 1 |
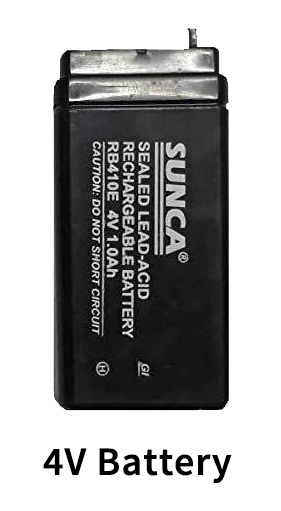
4V Rechargeable DC Battery
Steps For Making A Power Bank
Follow the steps as shown in the video above.
1) Cut a piece of a double sided tape using scissors & attach it to the surface of the battery, then attach the battery charger module to the other side of the tape.

2) Solder the +ve & -ve terminal of the battery to the terminals of charger board circuit, keeping in mind the order the terminals.

3) Test the Charger board module using test switch.

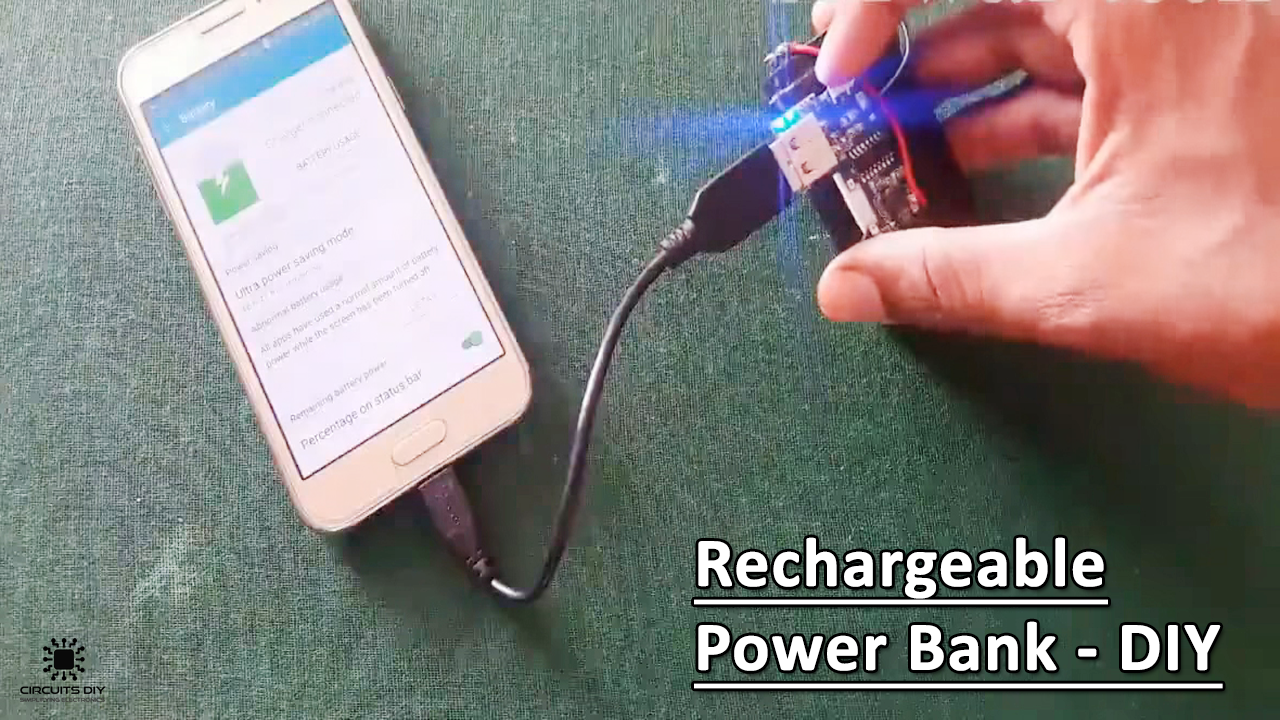
4) Use a micro USB cable to charge your smartphone.

5) Use a 5V/2A Charger to charge the battery once its depleted.

Working Explanation
The working of this circuit is pretty simple. The 4V battery acts as a DC power reservoir. Since an average of 3.7V DC is available from the battery. The charge controller module ensures proper charging whilst providing protection from any overcharge. The integrated DC to DC converter module within the charger circuit board provides a stable 5V/2A DC output.
When the circuit is connected either to any external output device or to a wall outlet for charging, the onboard SMD LEDs located on top of the charge control circuit board provide charging-status indications.
Applications
- They are usually used to charge devices such as smartphones, gaming controllers & flashlights etc.


