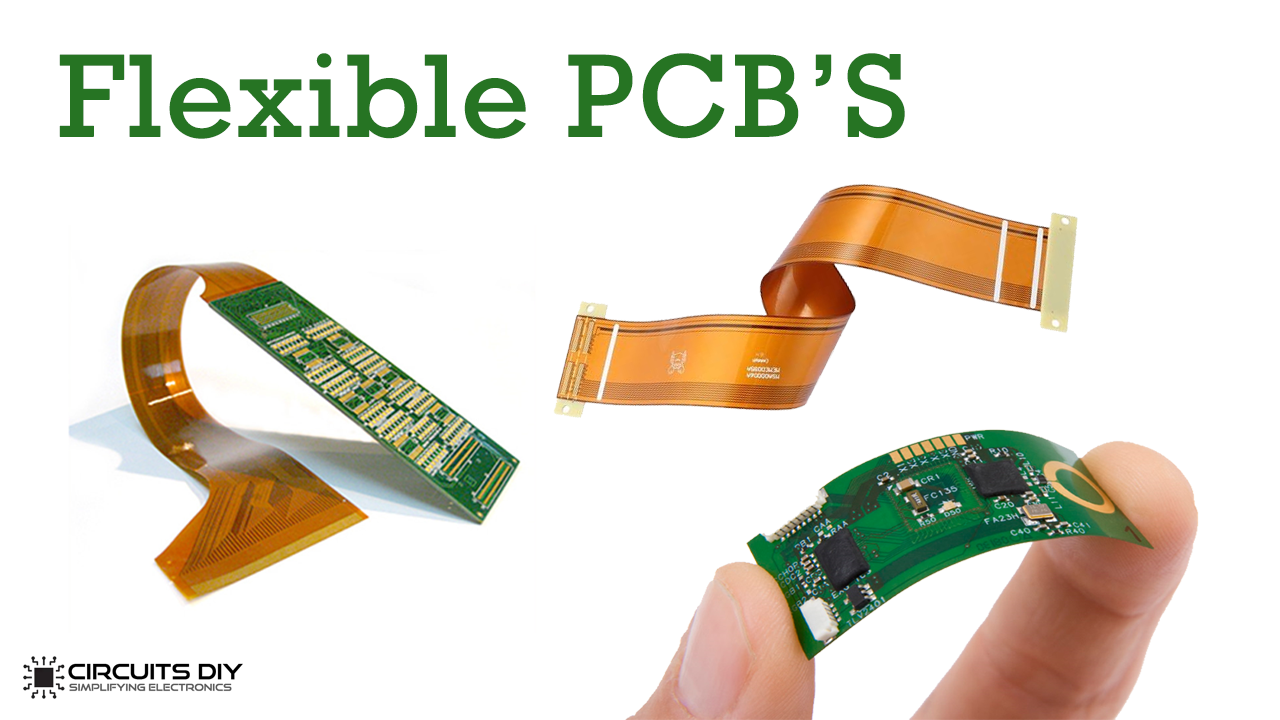
What are Flex PCBs?
Would you like to learn how to make Flex PCBs easily at home? PCBs or (Printed Circuit Boards) are basically boards that connect electronic components. It is the basic building block of any electronic design. It is a non-conductive substrate that supports and electrically connects any electronic component using tracks, pads, and other features etched on a laminated copper sheet. Before the innovation of PCBs, circuit management was a severely hectic process. So, Today we will take a look at how to make flex PCBs at home.
PCBWay commits to meeting the needs of its customers from different industries in terms of quality, delivery, cost-effectiveness, and any other demanding requests. As one of the most experienced PCB manufacturers in China. They pride themselves to be your best business partners as well as good friends in every aspect of your PCB needs.
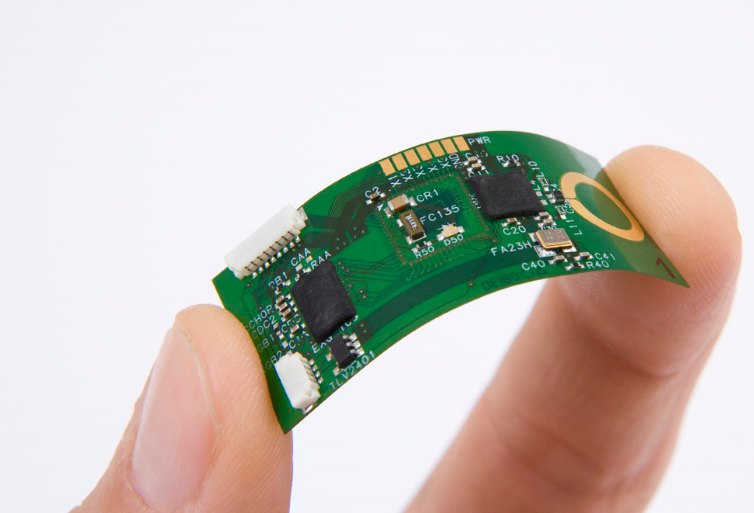
Flexible printed circuit boards, also called Flex PCBs, get their name for their flexible nature of enabling any circuitry to fit any electronic device or a product, as opposed to building a separate housing to conform to the circuit board. Flex boards are characterized by a distinctly patterned printed circuitry and component arrangement highlighted by a malleable base material.
Equipment You Will Need
You will need the following equipment
- Polymide Film
- Solid Ink Printer
- Etching Chemicals (FeCl3 etc)
- A PC or Laptop
- PCB Designing Software (EAGLE, Proteus, etc)
- Pyralux Copper Lamination sheets/Copper lamination sheets
- Etching Tray
- A4 Paper
- A Heating Element
- Multimeter
Steps-to-Follow
Follow these steps for designing a homemade Flex PCB.
1) Get Organized
Before starting the process get all your tools in order. Ensure the use of a copper-coated film. check the availability & condition of thin polyimide sheets that are made up of copper on both sides.
2) Design the Initial Schematics
Draw a design in any PCB Designing software and use a feed tray that is manual to print on your sheet of parallax in black. Avoid the light shades which are made up of tiny dots on the white background. The areas that are printed are protected by wax. Print the final design onto the Pyralux sheet.
3) Printing PCB Prototype
Use a solid ink printer. When printing directly to the Pyralux copper film. The prints from a solid ink printer do not rely on charging the surface of the paper locally like the laser printers that could cause trouble in the case when the copper sheet replaces the paper.

4) Etching
In this step, Place the sheet in ferric chloride (FeCl3) solution for around five minutes. The time for etching will depend on the levels of temperatures and the thickness of the copper sheet. Wait for the areas made of copper to dissolve and the film of polyimide to show up.

5) Arrange & Inspect
After the etching process, clean and inspect the Flex PCB using a multimeter or AVO Meter. After which you can cut the Flex PCB into small circuits. You can stick it to a fiberglass surface in order to mount components.
Advantages Of Flex PCBs
- They are suitable for building electronic circuits which require three axes connections.
- Due to their light and flexible nature, Flex PCBs can absorb and reduce vibrational impacts
- They save valuable weight and space (up to 60% in contrast to wire applications)