
Introduction
Moisture is a huge problem for agriculturalists and farmers. Unreasonable moisture can cause adverse effects on the soil. Thus, it reduces yield and also lends a pessimistic result in the form of seed loss. It risks crops and plants. Also, it affects the irrigation system, Therefore, to prevent subtle moisture problems, the designers had made a small and portable soil moisture sensor. The sensor estimates the volumetric content of the water and gives the reading accordingly.
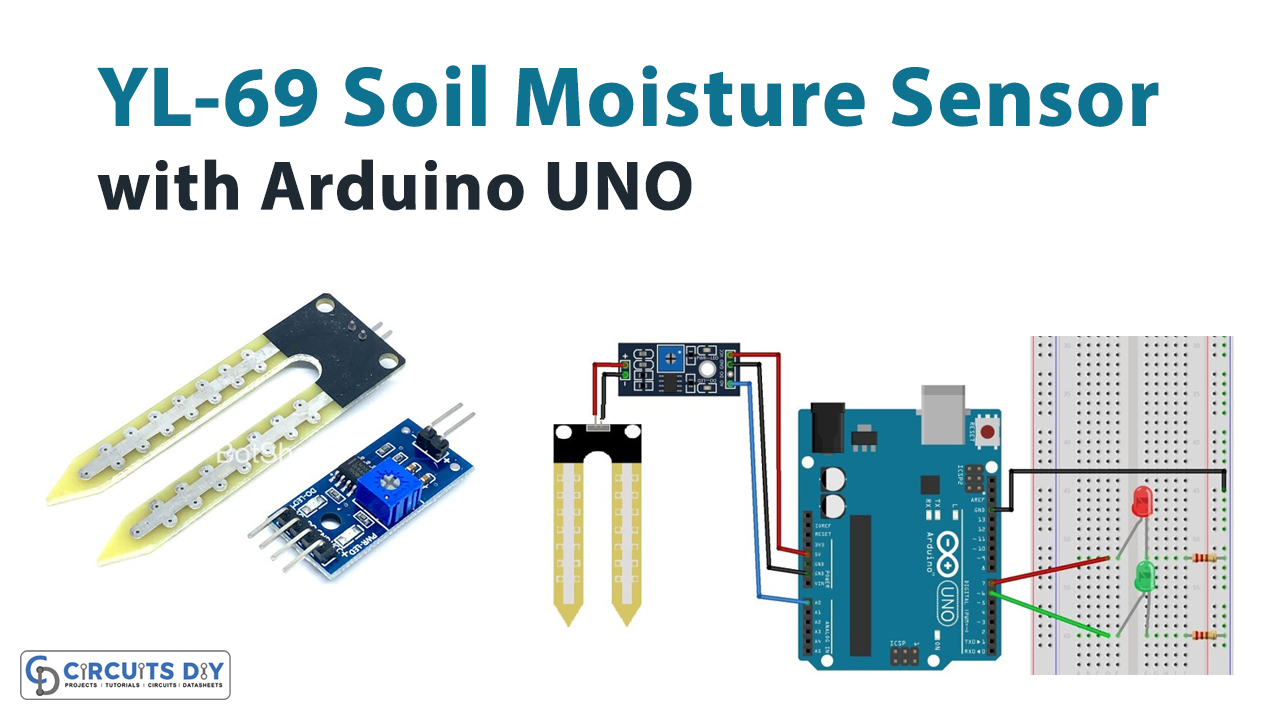
So, In this tutorial, we will learn to interface “Soil Moisture Sensor YL-69 or HL-69 with Arduino UNO”
An Overview about Soil Moisture Sensor
The soil moisture sensor is also understood as a hygrometer. It contains two probes, which are electronic pads, act as a variable resistor. The potentiometer in the sensor adjusts the sensitivity. When the soil gets wet, the output voltage decreases. While, when the soil gets dry, the output voltage increases.

Hardware Required
| S.no | Component | Value | Qty |
|---|---|---|---|
| 1. | Arduino | UNO | 1 |
| 2. | USB Cable Type A to B | – | 1 |
| 3. | Jumper Wires | – | – |
| 4. | Soil Moisture Sensor | YL-69 or HL-69 | – |
Circuit Diagram
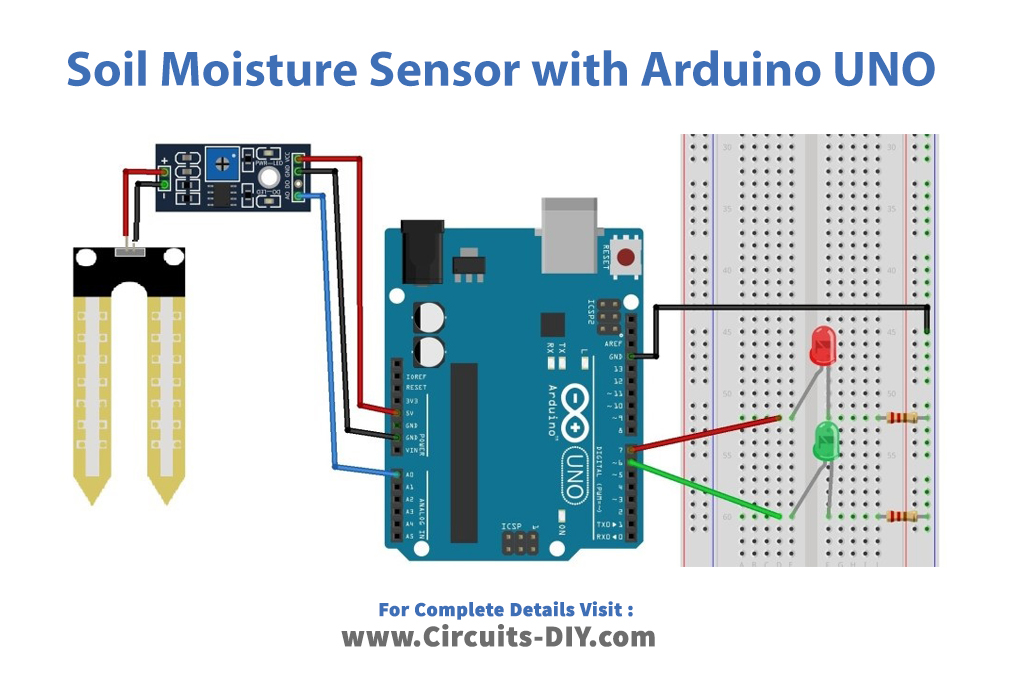
Connection Table
| Arduino | Soil Moisture Sensor YL-69 or HL-69 |
|---|---|
| Analog Pin | A0 |
| Digital Pin | D0 |
| GND | GND |
| 5V | VCC |
Arduino Code
// Circuits DIY
 // For Complete Details Visit -> https://circuits-diy.com
int rainPin = A0;
int greenLED = 6;
int redLED = 7;
// you can adjust the threshold value
int thresholdValue = 800;

void setup(){
  pinMode(rainPin, INPUT);
  pinMode(greenLED, OUTPUT);
  pinMode(redLED, OUTPUT);
  digitalWrite(greenLED, LOW);
  digitalWrite(redLED, LOW);
  Serial.begin(9600);
}

void loop() {
  // read the input on analog pin 0:
  int sensorValue = analogRead(rainPin);
  Serial.print(sensorValue);
  if(sensorValue < thresholdValue){
    Serial.println(" - Doesn't need watering");
    digitalWrite(redLED, LOW);
    digitalWrite(greenLED, HIGH);
  }
  else {
    Serial.println(" - Time to water your plant");
    digitalWrite(redLED, HIGH);
    digitalWrite(greenLED, LOW);
  }
  delay(500);
}
Working Explanation
Connect the soil moisture sensor with the Arduino. Write the above-mentioned code in Arduino IDE. Upload that code. Adjust the threshold value using the potentiometer. Fix the soil moisture sensor into the soil. When the soil value exceeds the defined threshold value, the red LED light starts glowing. It means that plants need some water.
Code Explanation
- In the code, we first have declared the pins that are connected with soil moisture sensors and LEDs. Also, we have described the threshold value that has been set by the potentiometer.
- In the void setup, we have declared the input and output pins. Moreover, we have initialized the Serial Monitor there.
- In the void loop, the condition has been given. When the sensor value is less than the threshold value, the Serial monitor will print that plant doesn’t need watering. Also, at that time the green light has turned ON. When the soil value exceeds the threshold value, the red light will start glowing and the message will appear on the Serial Monitor that it’s time to water the plants.
Application and Uses
The central use of this sensor is in agriculture. And that’s why used by farmers, planters, and researchers. It can be used in landscape irrigation systems to increase efficiency. If you are a Gardner, you can also utilize this sensor.
Related posts:
 How To Use Seven Segment Display With Arduino - Up Counter
 Button Controlled Electromagnetic Lock - Arduino Tutorial
 Interfacing 1.8 Inch SPI TFT Color Display Module with Arduino
 Rotary Encoder with Arduino
 Piezo Buzzer with Button - Arduino Tutorial
 How to make YouTube Play Button - Electronics Projects


