
Introduction
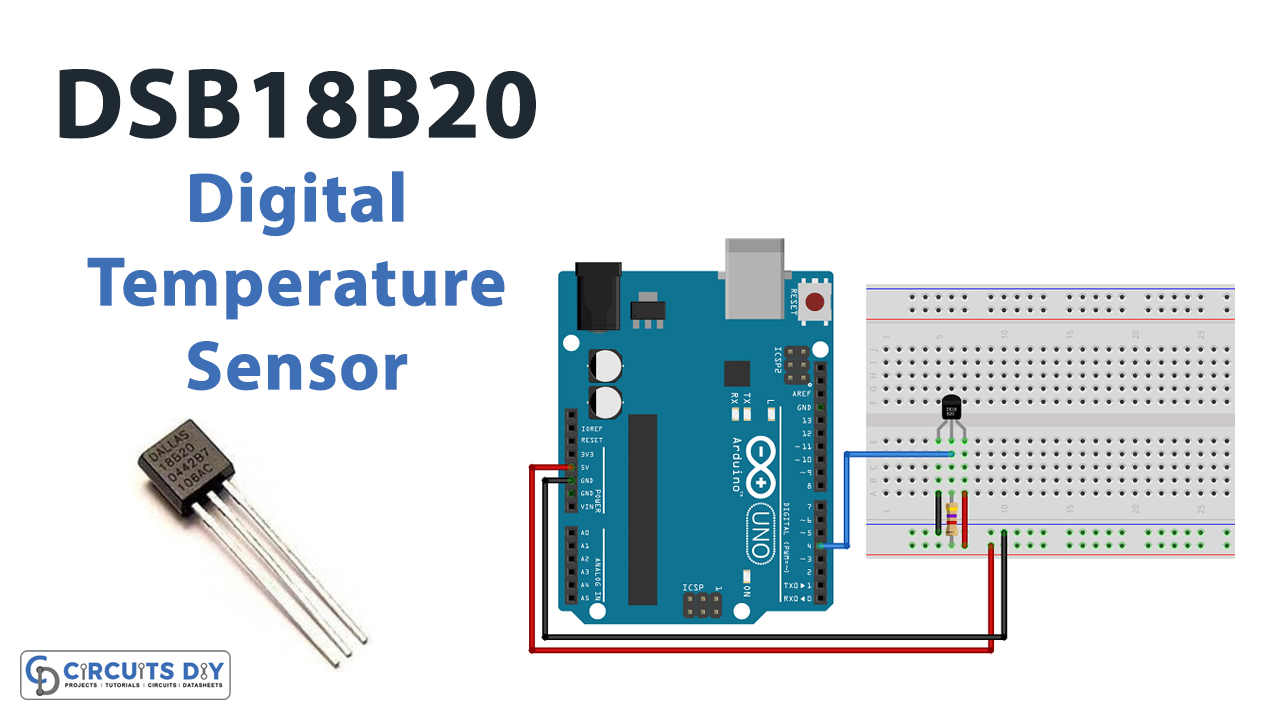
To measure the temperature of various hard objects or to measure the temperature at multiple points of a particular object, various sensors are used. And, DS18B20 is of those sensors. The sensor uses the microcontroller to measure the readings. This sensor is a relatively inexpensive way to estimate the temperature. precisely, it’s easy to use and requires no other external components. Further, the sensor is easy to interface with. However, The sensor works in two modes: The normal mode and the parasite mode.
For the normal mode, a 3 wire connection is required. And, the power supply is given to the VDD pin of the sensor. similarly, for the parasite mode, only data and ground pin are needed. In this mode, the sensor gets this power from the data line. Therefore, required no external power. so, In this tutorial, we are going to interface “DS18B20 Temperature Sensor with Arduino UNO”.
Specifications about DS18B20
- The operating voltage of the sensor is from 3 to 5 Volts.
- The temperature range of the sensor is from -55 degrees to 125 degrees.
- Programmable output resolution is from 9 bit to 12 bit.
- It has a programmable alarm option.
- The sensor communicates by using the 1 wire method.

Hardware Required
| S.no | Component | Value | Qty |
|---|---|---|---|
| 1. | Arduino | UNO | 1 |
| 2. | USB Cable Type A to B | – | 1 |
| 3. | Jumper Wires | – | 1 |
| 4. | temperature Sensor | DS18B20T | 1 |
Circuit Diagram
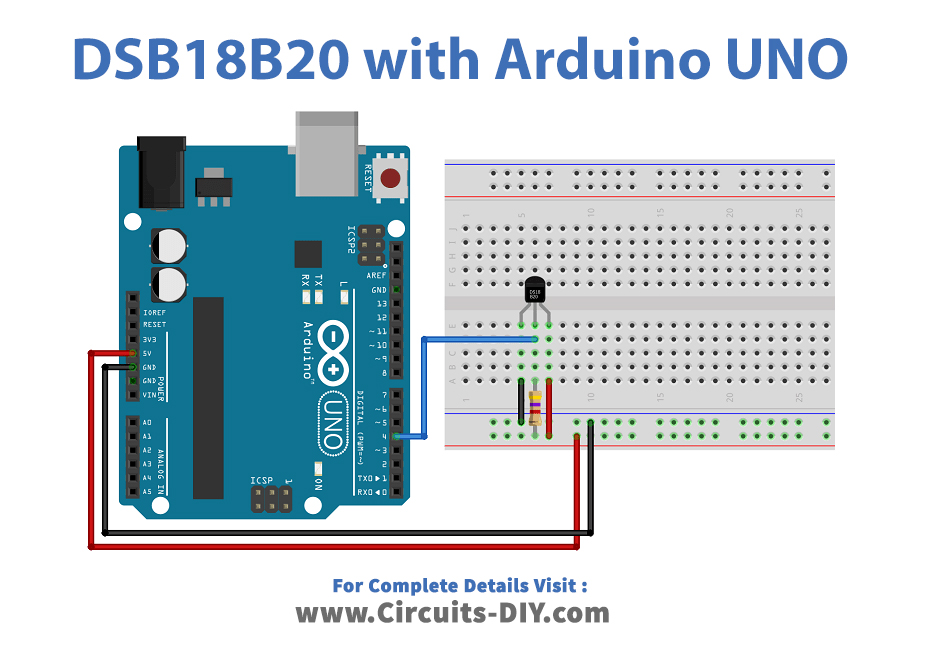
Connection Table
| Arduino | DS18B20 Temperature Sensor |
|---|---|
| GND | GND |
| Any Digital Pin (with 4.7k Ohm pull-up resistor) | DQ |
| 5V | VDD |
Arduino Code
// Circuits DIY
 // For Complete Details Visit -> https://circuits-diy.com
#include <OneWire.h>
#include <DallasTemperature.h>

// Data wire is conntec to the Arduino digital pin 4
#define ONE_WIRE_BUS 4

// Setup a oneWire instance to communicate with any OneWire devices
OneWire oneWire(ONE_WIRE_BUS);

// Pass our oneWire reference to Dallas Temperature sensor
DallasTemperature sensors(&oneWire);

void setup(void)
{
  // Start serial communication for debugging purposes
  Serial.begin(9600);
  // Start up the library
  sensors.begin();
}

void loop(void){
  // Call sensors.requestTemperatures() to issue a global temperature and Requests to all devices on the bus
  sensors.requestTemperatures();

  Serial.print("Celsius temperature: ");
  // Why "byIndex"? You can have more than one IC on the same bus. 0 refers to the first IC on the wire
  Serial.print(sensors.getTempCByIndex(0));
  Serial.print(" - Fahrenheit temperature: ");
  Serial.println(sensors.getTempFByIndex(0));
  delay(1000);
}
Working Explanation
Firstly, Connect DS18B20 Temperature Sensor with Arduino UNO according to the circuit diagram given above. Further, upload the above-mentioned code in your Arduino UNO. After that, open the serial monitor so that you can see the readings appear on the serial monitor. Now, if you want to see the drastic changes in the readings of temperature, place the circuit in an environment having a temperature different than room temperature. As a result, you will see the different readings.
Code Explanation
- Install the required libraries. You can download the libraries from:
https://github.com/milesburton/Arduino-Temperature-Control-Library
- Now, include the libraries. Define the Arduino pin that is connected to the wire of the sensor by using the variable oneWireBus. Give function oneWire( ) to communicate with variable oneWireBus.
- After that, In the void setup, initialize the serial monitor by serial. begin( ). Initialize the sensor by using sensors. begin( ).
- In the void loop, call the requestTemperature( ) to get the readings of temperature from the sensor. Use Serial. print to print the sensor value. Now, use getTempCByindex( ) to get the values in Celsius. In the same vein, use getTempFByindex( ) to get the values in Fahrenheit. finally, five the delay to get the value accordingly. `
Application and Uses
- Firstly, to measure the temperature of hard objects.
- Also, for the measurement of liquid.
- Moreover, in the applications where there are multiple measuring points.
- Further, in HVAC systems, etc.
Related posts:
 Medicine Reminder using Arduino & RTC
 How MQ2 Gas Smoke Sensor Interface with Arduino UNO
 Interfacing Character LCD Modules 0802 / 1602 / 2002 / 2004 with Arduino
 Interfacing SHT20 Temperature and Humidity Sensor with Arduino
 Interfacing 315/433 MHz RF Transmitter-Receiver with Arduino
 Digital Capacitive Touch Sensor using Arduino


