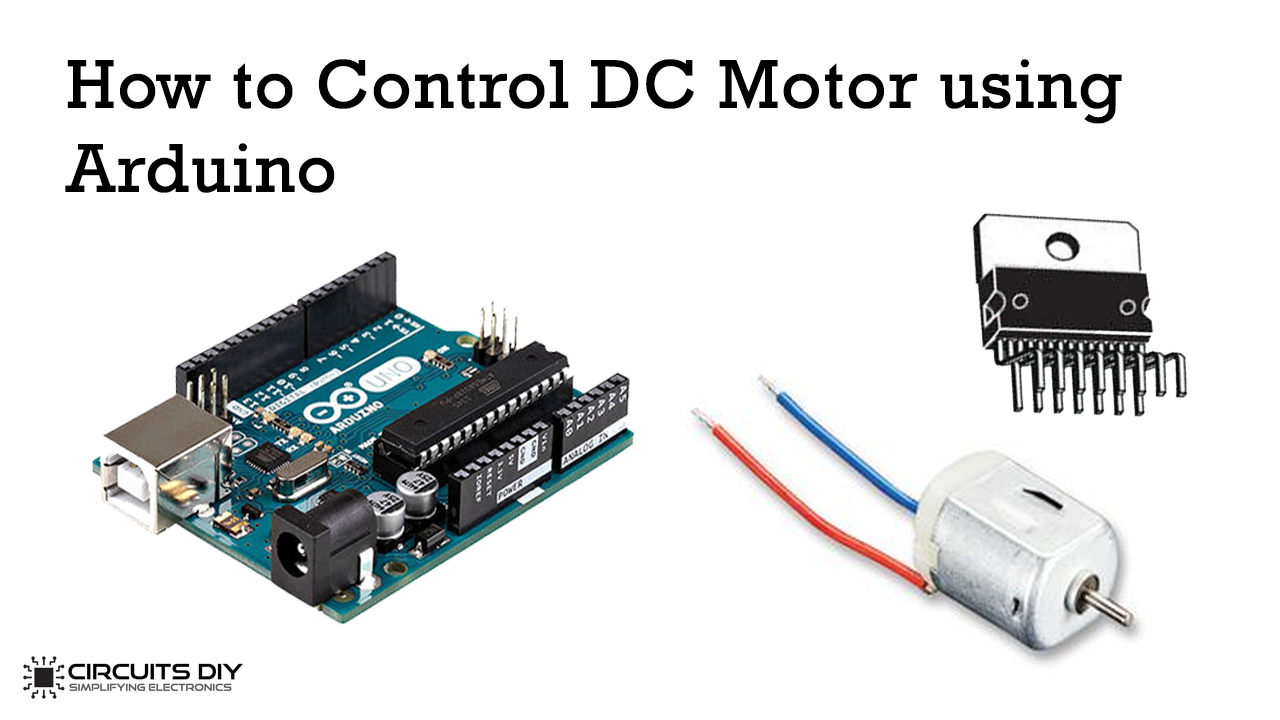
DC motor is most commonly used due to its simple construction and function. It has just 2 leads, positive and negative. If one connects these leads directly to a battery, then the motor will rotate. If one switches the leads then the motor will rotate in an opposite direction.
How To Rotation Control?
If we want to control the rotation of DC motor without changing the connection of the lead then a suitable option is to use H-bridge. H-bridge is a small electronic circuit that is capable of rotating motor in both clockwise and anticlockwise direction H-bridge has various applications, most significant being the control of motors in a robot. It is called H-bridge as it utilizes 4 transistors in such a way that the schematic looks like H.
To control DC motor using an Arduino, we will use the L298 H-Bridge IC. The L298 IC controls both the speed and direction of DC motors. It can even control 2 motors simultaneously.
Hardware Components
| S.no | Component | Value | Qty |
| 1. | Breadboard | – | 1 |
| 2. | Connecting Wires | – | 1 |
| 3. | Arduino | Mega2560 | 1 |
| 4. | H-Bridge IC | L298 | 1 |
| 5. | DC Motor | – | 1 |

Controlling 2 Motors
- 3 inputs are available for each motor.
- For motor 1, input pins include IN1, IN2, and ENA
- For Motor2, input pins include IN3, IN4, and ENB
- However, here we will show how to connect a single DC motor with L298 IC.
- First, we will connect the Arduino to IN1 (pin 5), IN2 (pin 7), and Enable1 (pin 6)
- Pins 5 and 7 are digital pins and will require inputs in the form of 0 or 1 on the other hand, pin 6 requires PWM signal to achieve the speed control.
- If values of input 1 and input 2 are changed then motor rotation direction will also be changed.
Refer to the following table for further elaboration.
| Input 1 | Input 2 | Direction of rotation |
| 0 | 0 | Stop |
| 1 | 0 | Forward |
| 0 | 1 | Backward |
| 1 | 1 | Stop |
- Pin 8 of Arduino is connected to IN1 pin of the L298 IC
- Pin no 9 is connected to the IN2 pin of L298 IC.
- These two digital pins 8 and 9 of Arduino control the direction of rotation of the DC motor
- Pin 2 of Arduino is connected to EN A pin of IC
- We will use the digital Write function to set the values of Arduino pins 8 and 9,
- We will use the analog Write() function to set the value of pin 2
Arduino Code
const int pwm = 2 ;	//initializing pin 2 as pwm
const int in_1 = 8 ;
const int in_2 = 9 ;

//For providing logic to L298 IC to choose the direction of the DC motor

void setup()
{
pinMode(pwm,OUTPUT) ;  	//we have to set PWM pin as output
pinMode(in_1,OUTPUT) ; 	//Logic pins are also set as output
pinMode(in_2,OUTPUT) ;
}

void loop()
{
//For Clock wise motion , in_1 = High , in_2 = Low

digitalWrite(in_1,HIGH) ;
digitalWrite(in_2,LOW) ;
analogWrite(pwm,255) ;

/*setting pwm of the motor to 255
we can change the speed of rotaion
by chaning pwm input but we are only
using arduino so we are using higest
value to driver the motor  */

//Clockwise for 3 secs
delay(3000) ;

//For brake
digitalWrite(in_1,HIGH) ;
digitalWrite(in_2,HIGH) ;
delay(1000) ;

//For Anti Clock-wise motion - IN_1 = LOW , IN_2 = HIGH
digitalWrite(in_1,LOW) ;
digitalWrite(in_2,HIGH) ;
delay(3000) ;

//For brake
digitalWrite(in_1,HIGH) ;
digitalWrite(in_2,HIGH) ;
delay(1000) ;
 }
Steps To Follow For Control DC Motor Arduino
- Connect 5V and GND of the L298 IC to 5V and GND of Arduino.
- Position the motor to pins 2 and 3 of the IC.
- Connect IN1 of the L298 IC to pin 8 of Arduino.
- Attach IN2 of the IC to pin 9 of Arduino.
- Link EN A of IC to pin 2 of Arduino.
- Attach SENS A pin of IC to the ground.
- Connect the Arduino via USB cable and upload the program via Arduino IDE
- power the Arduino board with a battery
- The motor will run in the clockwise direction for the first 3 seconds and then anti-clockwise for the next 3 seconds.
Applications
- Blowers and Fans
- Milling and drilling machines
- Pumps discs and electric traction etc

