Introduction
Connecting an Arduino UNO microcontroller to an internet router using an RJ45 Ethernet cable is a powerful way to give the microcontroller access to network resources and the internet. By leveraging the Ethernet library provided by the Arduino IDE, the device can be configured with network settings such as the IP address, subnet mask, and gateway address, enabling it to communicate with other devices on the network. This allows the Arduino to be used for a wide variety of applications that require network connectivity, such as monitoring and controlling remote devices, sending sensor data to a server, or receiving commands from a web application.
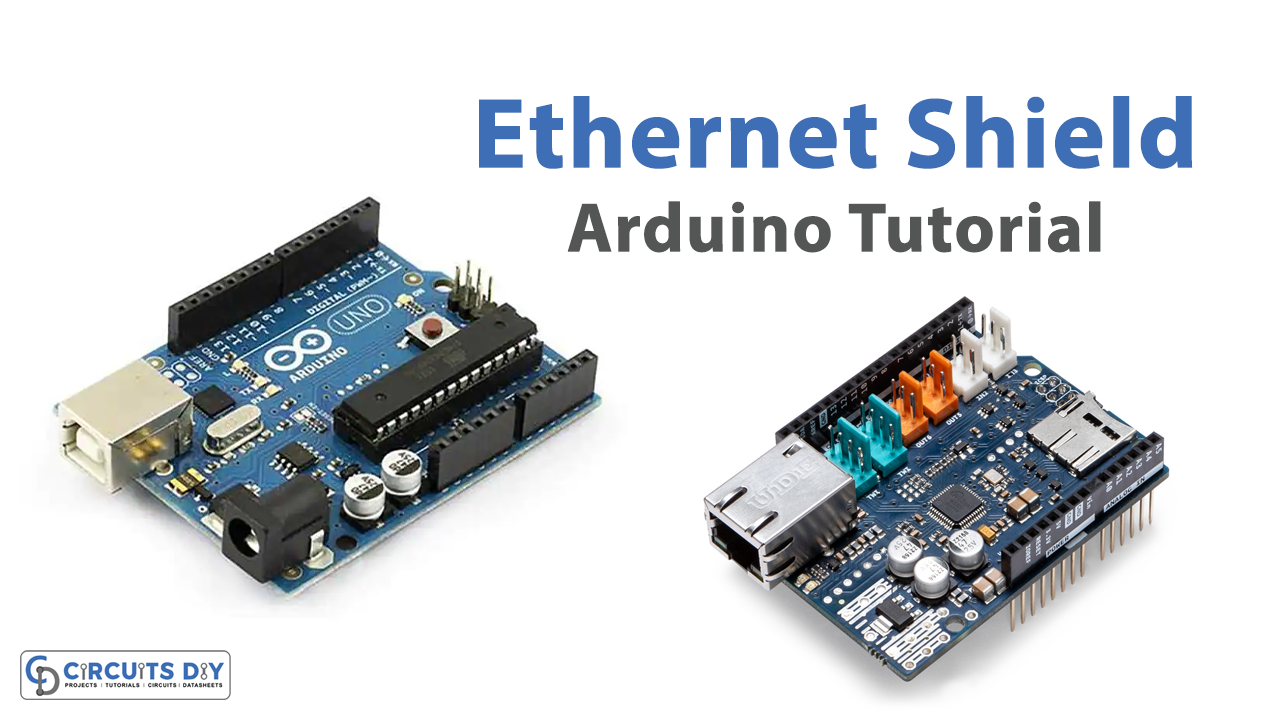
An Arduino Ethernet Shield is an add-on board for Arduino microcontrollers that provides Ethernet connectivity to the Arduino board. The Ethernet shield allows an Arduino to connect to the internet or a local network through an Ethernet cable. The shield is equipped with an Ethernet controller chip, which handles the low-level Ethernet communication protocols. The shield also has a built-in SD card slot, which allows for data logging and storage.
Hardware Components
You will require the following hardware for Interfacing Ethernet with Arduino.
| S.no | Component | Value | Qty |
|---|---|---|---|
| 1. | Arduino UNO | – | 1 |
| 2. | USB Cable Type A to B | – | 1 |
| 3. | Arduino Ethernet | – | 1 |
| 4. | Router | – | 1 |
Ethernet with Arduino UNO
- Include the Ethernet library:
#include <Ethernet.h>
- Define the MAC address and IP address of the Arduino:
byte mac[] = { 0xDE, 0xAD, 0xBE, 0xEF, 0xFE, 0xED };  //MAC address of Arduino
IPAddress ip(192, 168, 1, 177);  //IP address of Arduino
- Create an instance of the Ethernet library:
EthernetClient client;
- Initialize the Ethernet connection with the MAC and IP addresses:
Ethernet.begin(mac, ip);
- Set the pin number for the ethernet connection:
int ethernetPin = 10;- Set the pin mode to input:
pinMode(ethernetPin, INPUT);
- Read the status of the ethernet connection:
int ethernetStatus = digitalRead(ethernetPin);
- Print the status of the ethernet connection to the serial monitor:
Serial.print("Ethernet Status: ");
if (ethernetStatus == HIGH) {
  Serial.println("Connected");
} else {
  Serial.println("Disconnected");
}
delay(1000);
}
Installing Arduino IDE
First, you need to install Arduino IDE Software from its official website Arduino. Here is a simple step-by-step guide on “How to install Arduino IDE“.
Installing Libraries
Before you start uploading a code, download and unzip the following libraries at /Progam Files(x86)/Arduino/Libraries (default), in order to use the sensor with the Arduino board. Here is a simple step-by-step guide on “How to Add Libraries in Arduino IDE“.
- Ethernet.h
Code
Now copy the following code and upload it to Arduino IDE Software.
#include <Ethernet.h>

byte mac[] = { 0xDE, 0xAD, 0xBE, 0xEF, 0xFE, 0xED };  //MAC address of Arduino
IPAddress ip(192, 168, 1, 177);  //IP address of Arduino

EthernetClient client;

int ethernetPin = 10;

void setup() {
  pinMode(ethernetPin, INPUT);
  Ethernet.begin(mac, ip);
  Serial.begin(9600);
  while (!Serial) {
    ; // wait for serial port to connect. Needed for native USB port only
  }
}

void loop() {
  int ethernetStatus = digitalRead(ethernetPin);
  Serial.print("Ethernet Status: ");
  if (ethernetStatus == HIGH) {
    Serial.println("Connected");
  } else {
    Serial.println("Disconnected");
  }
  delay(1000);
}
Working Explanation
The setup() function initializes the serial communication and sets the mode of the Ethernet pin to INPUT. It then calls the Ethernet.begin() function to establish the Ethernet connection using the MAC and IP addresses defined earlier.
In the loop() function, the sketch reads the status of the Ethernet pin using the digitalRead() function and stores the result in the integer variable “ethernetStatus”. It then prints the status of the Ethernet connection to the serial monitor using the Serial.print() and Serial.println() functions. The loop() function ends with a delay of 1 second using the delay() function.
Applications
- Remote monitoring and control
- Sensor data collection and analysis
- Internet of Things (IoT) devices
- Web server
- Remote firmware updates
Conclusion.
We hope you have found this Arduino Ethernet Circuit very useful. If you feel any difficulty in making it feel free to ask anything in the comment section.