
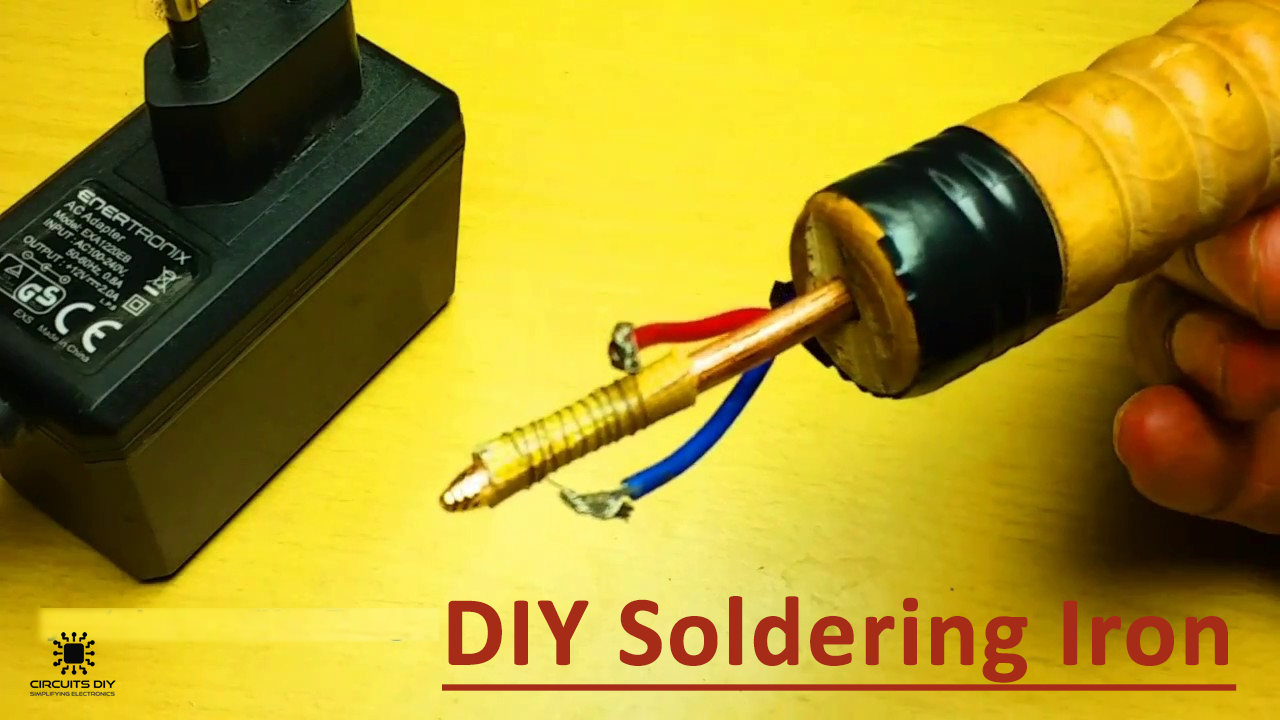
In this DIY, we are going to make a “12V Soldering iron”. A “soldering iron” is a hand apparatus that provides heat to melt the solder as it can flow into the joint between two workpieces. This process is called “Soldering”.
A “soldering iron” is made out of a heated metal tip and a handle. We can heat the metal tip by passing an “electric flow”. The electricity can be provided through “battery cables” or “electrical lines” through a resistive heating component. This is one of the easiest tutorials available on the internet for making a 12V soldering iron.
Hardware Components
The following components are required to make 12V Soldering Iron
| S.no | Components | Value | Qty |
|---|---|---|---|
| 1. | Wood Piece | – | 1 |
| 2. | Copper wire | 8mm | 1 |
| 3. | Heat Resistant | – | 1 |
| 4. | Nichrome wire | 32awg | 1 |
| 5.. | Copper wire | 1mm | 1 |
| 6. | Switch | – | 1 |
| 7. | Battery Clip with wire | – | 1 |
| 8. | Battery / Transformer | 12V | 1 |
| 9. | LED Light (Optional) | 12V | 1 |
Circuit Construction
Step# 01
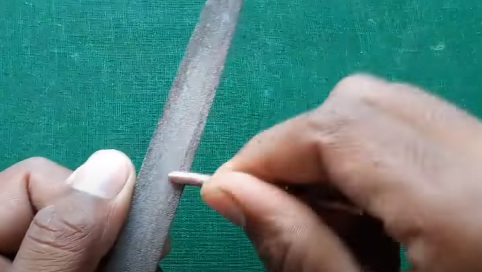
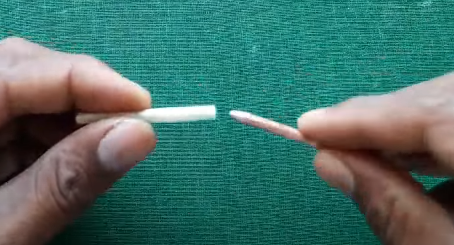
First, make the tip by rubbing 8mm Copper wire.

Step# 02
Then take a wood piece and make a 4mm hole with a drill machine.

Step# 03
Cover the 8mm copper wire with heat resistance.
Step# 04
Join the 8mm copper wire with a wooden piece.

Step# 05
Use 35cm 32awg nichrome wire and wrap the nichrome wire on the 8mm copper wire.

Step# 06
Wrap the 1mm copper wire at the upper and lower part of the 8mm copper wire.

Step# 07
Join the ON/OFF Switch by connecting it to the lower 1mm copper wire.

Step# 08
Connect the red battery clip with wire to the ON/OFF Switch.

Step# 09
Then connect the black battery clip with wire to the upper 1mm copper wire.

Step# 10
Now join all wires to the wood piece with tape.
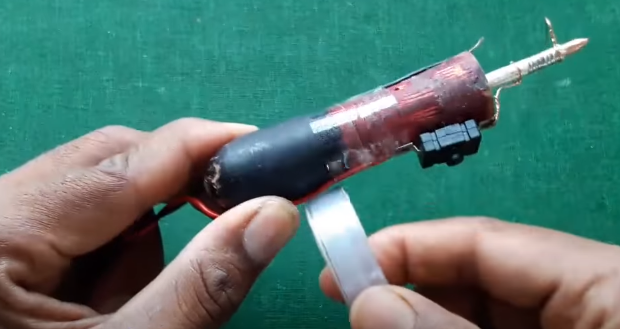
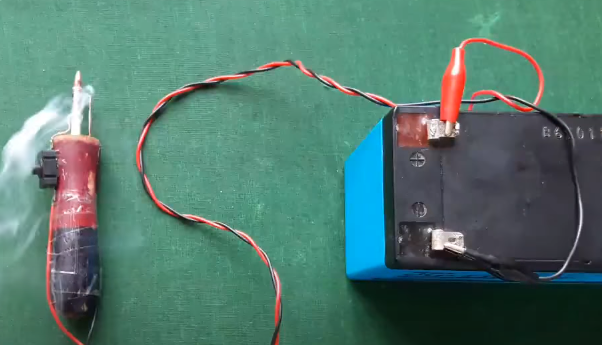
Step# 11
Connect the 12V battery with the soldering iron.
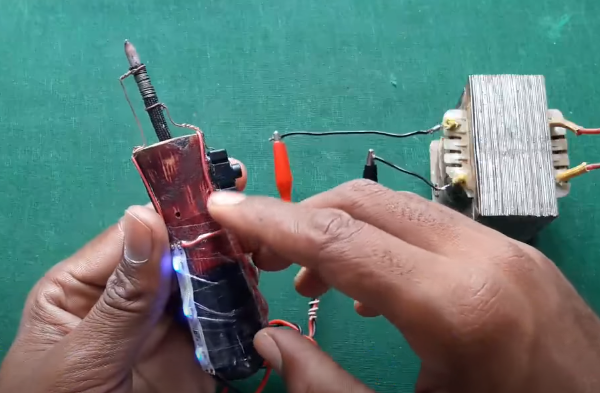
Step# 12
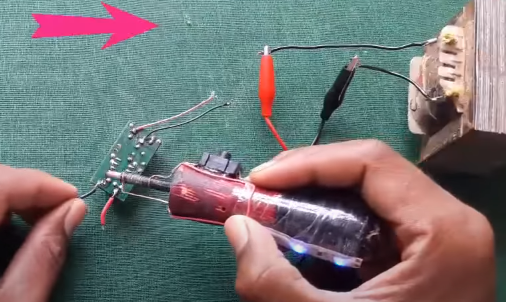
Finally, we can test the soldering iron.

Step# 13
You can also use LED lights for indication.
Step# 14
You can also use the 12V transformer instead of a battery.
Working Explanation
Under this heading, we will discuss how the circuit of the “12V soldering iron” works. In this circuit, the main components are 8mm Copper wire, a wood piece, and a transformer. 8mm copper wire works as a metal tip, a wooden piece works as an insulated handle and a 12V transformer provides an electrical connection. We have also used heat-resistant, nichrome wire, and 1mm copper wire for better results. We can also add an “on/off switch” and a “12V LED light” for indicating whether the soldering iron is in operating condition or not.
Applications and Uses
Soldering irons are used to solder electronics components
- To install chips like ICs, resistors, capacitors, etc. on the circuit board.
- To repair or change IC or any other electronic components on electronic circuits.
Related posts:
 Interfacing WS2812b LED Ring with ESP32
 Wireless Doorbell using 433 MHz Reciever and Transmitter module
 Heart Rate Monitor Circuit Using LM358 IC | DIY Project
 LED Audio Level Meter Circuit Using 2N4401 Transistors
 How to make a Simple Heartbeat Sensor Circuit
 Fire Alarm Electronic Project using 555 Timer


