Introduction
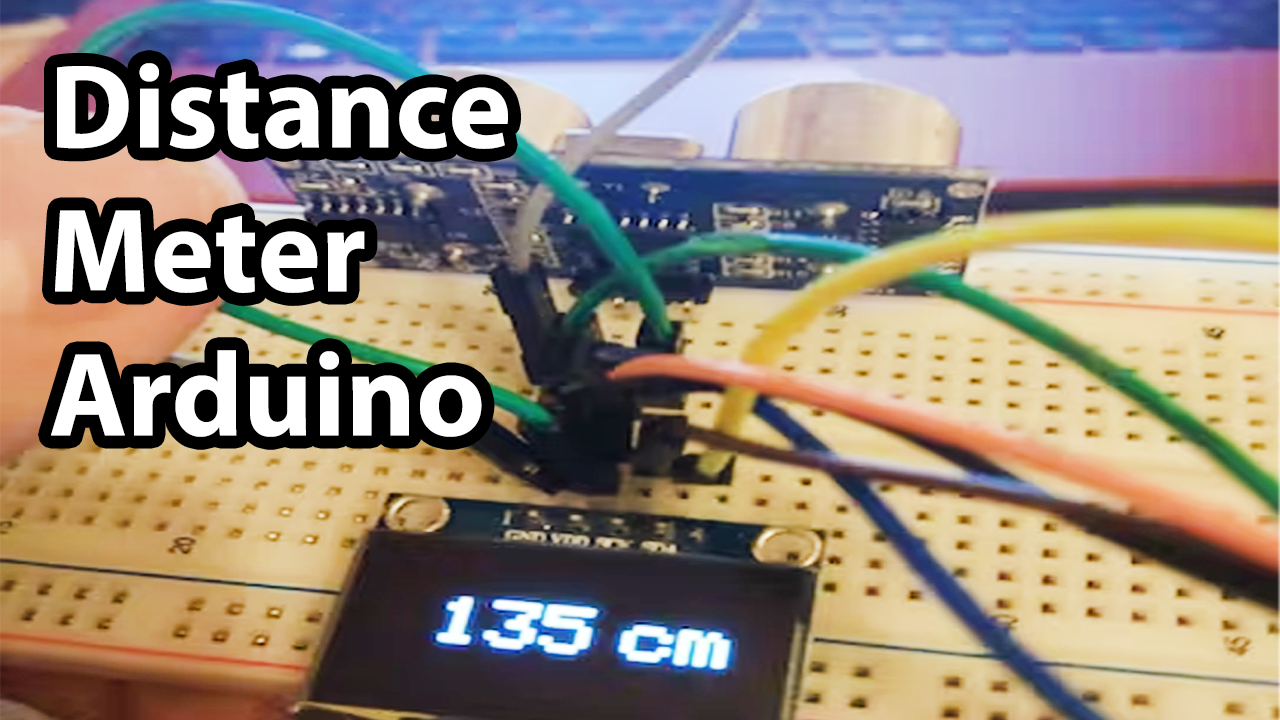
Ultrasonic sensors are small devices that detect ultrasonic radiation. We have seen to detect an object but do you know that the sensor measures the distance? A sensor simply estimates the distance between the targeted object and the sensor. And that’s why it’s called a distance sensor. So here in this article, we will discuss the making of a Distance Meter with OLED & Arduino
The HS-SR04 ultrasonic sensor, often known as SONAR, accurately measures distance and consistently provides accurate results. The mechanism is not even vulnerable to sunshine or black materials.
What is a Distance Meter?
Distance meters are devices that measure the distances between two objects without making physical contact. As a result, it provides quick and precise object measuring, positioning, and range. These distance meters are extensively employed in the industrial sector.

Hardware Components
You will require the following hardware for making a Distance Meter.
| S.no | Component | Value | Qty |
|---|---|---|---|
| 1. | Arduino | UNO | 1 |
| 2. | Ultrasonic Sensor | HC-SR04 | 1 |
| 3. | 128X64 LEDLCD OLED | 0.96 | 1 |
| 4. | Breadboard | – | 1 |
| 5. | Jumper Wires | – | 1 |
Steps in Making a Distance Meter
For this, Distance Meter with OLED & Arduino you need the above-required components. Once you have them all; follow the given step:
Schematic
Make connections according to the circuit diagram given below.

Wiring / Connections
| Arduino | Ultrasonic Sensor | 0.96 LED LCD OLED |
|---|---|---|
| 5V | VCC | VCC |
| GND | GND | GND |
| D12 | Trig | – |
| D13 | Echo | – |
| A5 | – | SCL |
| A4 | – | SDA |
Installing Arduino IDE
First, you need to install Arduino IDE Software from its official website Arduino. Here is a simple step-by-step guide on “How to install Arduino IDE“.
Installing Libraries
Before you start uploading a code, download and unzip the following libraries at /Progam Files(x86)/Arduino/Libraries (default), to use the sensor with the Arduino board. Here is a simple step-by-step guide on “How to Add Libraries in Arduino IDE“.
Code
Now copy the following code and upload it to Arduino IDE Software.
#include <SPI.h>
#include <Wire.h>
#include <Adafruit_GFX.h>
#include <Adafruit_SSD1306.h>

#define CommonSenseMetricSystem
//#define ImperialNonsenseSystem

#define trigPin 13
#define echoPin 12

#define OLED_RESET 4
Adafruit_SSD1306 display(OLED_RESET);

void setup() {
  Serial.begin (9600);
  pinMode(trigPin, OUTPUT);
  pinMode(echoPin, INPUT);
  display.begin(SSD1306_SWITCHCAPVCC, 0x3C); //initialize with the I2C addr 0x3C (128x64)
  display.clearDisplay();

}

void loop() {
  long duration, distance;

  digitalWrite(trigPin, LOW);
  delayMicroseconds(2);
  digitalWrite(trigPin, HIGH);
  delayMicroseconds(10);
  digitalWrite(trigPin, LOW);

  duration = pulseIn(echoPin, HIGH);

  #ifdef CommonSenseMetricSystem
  distance = (duration/2) / 29.1;
  #endif
  #ifdef ImperialNonsenseSystem
  distance = (duration/2) / 73.914;
  #endif

  display.setCursor(22,20);  //oled display
  display.setTextSize(3);
  display.setTextColor(WHITE);
  display.println(distance);
  display.setCursor(85,20);
  display.setTextSize(3);

  #ifdef CommonSenseMetricSystem
  display.println("cm");
  #endif
  #ifdef ImperialNonsenseSystem
  display.println("in");
  #endif

  display.display();

  delay(500);
  display.clearDisplay();
  Serial.println(distance);//debug
}
Let’s Test It
Once you are done with making the connection its now time to test the circuit. Power the Arduino. Now place something in front of the sensor, and you would see the distance readings appear on the OLED display. The circuit reads the distance between 2 and 400 cm and displays it on the I2C OLED screen
Working Explanation
To understand the working, you need to understand the code:
- First, we have included libraries and defined some variables.
- In the void setup, we first initialize the OLED display, and then we clear the display before the sensor takes the reading.
- We provide the trigger pulse input to the HC-SR04 sensor in the void loop to start operation. The HC module emits a burst of pulses and then monitors how long it takes for the ultrasound’s echo to return to its original location. We Create a pulse for the HC trigger, and the HC will do a pulse burst. PulseIn() is a seldom-used function that determines if the step length is high or low. We print the readings on an OLED screen
Applications
- Distance measuring devices
- Security alarms
Conclusion.
We hope you have found this Distance Meter Circuit very useful if you feel any difficulty in making it feel free to ask anything in the comment section.


