
Introduction
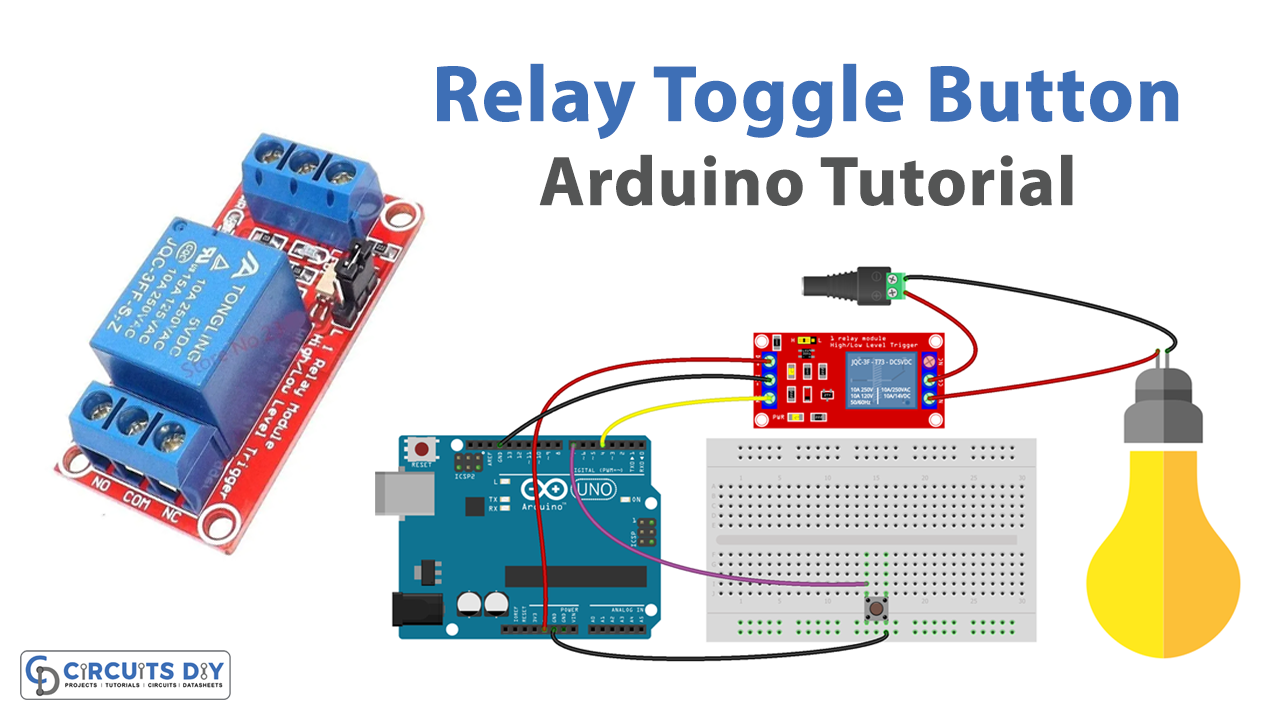
A push button toggle SPDT (Single Pole Double Throw) relay module for controlling AC appliances is a design scheme that allows you to control high voltage or high current devices such as lights, motors, or appliances with a low voltage and low current signal from a microcontroller such as an Arduino UNO MCU.
An Arduino SPDT relay module is a device that allows you to control AC appliances using an Arduino UNO microcontroller. It is composed of an SPDT (Single Pole Double Throw) relay and a circuit board that allows the relay to be controlled by the Arduino UNO. The SPDT relay has two states: normally open (NO) and normally closed (NC) contacts. When the relay is not energized, the NO contact is open and the NC contact is closed, and when the relay is energized, the NO contact is closed and the NC contact is open.
Hardware Components
You will require the following hardware for Button Toggle Relay with Arduino.
| S.no | Component | Value | Qty |
|---|---|---|---|
| 1. | Arduino UNO | – | 1 |
| 2. | USB Cable Type A to B | – | 1 |
| 3. | Button | – | 1 |
| 4. | Relay | – | 1 |
| 5. | Warning Light Bright Waterproof | – | 1 |
| 6. | Power Adapter | 12V | 1 |
| 7. | DC Power Jack | – | 1 |
| 8. | Power Adapter for Arduino | 9V | 1 |
| 9. | Breadboard | – | 1 |
| 10. | Jumper Wires | – | 1 |
Button Toggle Relay with Arduino
- Connect the pushbutton to pin 2, the relay module to pin 8, and the AC appliance to the relay module.
- Open the Arduino IDE and create a new sketch (program).
- Declare the pin numbers for the pushbutton and relay module as constants:
const int buttonPin = 2;
const int relayPin = 8;
- Declare a variable to store the current state of the relay:
int relayState = LOW;
- In the setup() function, configure the pushbutton and relay pins as inputs and outputs:
pinMode(buttonPin, INPUT);
pinMode(relayPin, OUTPUT);
- In the loop() function, read the state of the pushbutton:
int buttonState = digitalRead(buttonPin);
- Use an if statement to check if the button has been pressed:
if (buttonState == HIGH) {
  // toggle the state of the relay
  relayState = !relayState;
  // update the relay
  digitalWrite(relayPin, relayState);
}
- Use the serial monitor to display the current state of the relay:
Serial.print("Relay is ");
if (relayState == HIGH) {
  Serial.println("ON");
} else {
  Serial.println("OFF");
}
- Upload the sketch to the Arduino UNO board.
- Open the serial monitor and set the baud rate to 9600.
- Press the button and observe the relay state toggle on the board and the serial monitor.
Schematic
Make connections according to the circuit diagram given below.

Wiring / Connections
| Arduino | Relay | Button |
|---|---|---|
| 5V | VCC | |
| GND | GND | Pin2 |
| D3 | SIG | |
| D8 | Pin1 |
Installing Arduino IDE
First, you need to install Arduino IDE Software from its official website Arduino. Here is a simple step-by-step guide on “How to install Arduino IDE“.
Installing Libraries
Before you start uploading a code, download and unzip the following libraries at /Progam Files(x86)/Arduino/Libraries (default), in order to use the sensor with the Arduino board. Here is a simple step-by-step guide on “How to Add Libraries in Arduino IDE“.
Code
Now copy the following code and upload it to Arduino IDE Software.
Arduino Code – Button Toggles Relay Without Debouncing
const int BUTTON_PIN = 7; // Arduino pin connected to button's pin
const int RELAY_PIN  = 3; // Arduino pin connected to relay's pin

// variables will change:
int relayState = LOW;   // the current state of relay
int lastButtonState;    // the previous state of button
int currentButtonState; // the current state of button

void setup() {
  Serial.begin(9600);                // initialize serial
  pinMode(BUTTON_PIN, INPUT_PULLUP); // set arduino pin to input pull-up mode
  pinMode(RELAY_PIN, OUTPUT);        // set arduino pin to output mode

  currentButtonState = digitalRead(BUTTON_PIN);
}

void loop() {
  lastButtonState    = currentButtonState;      // save the last state
  currentButtonState = digitalRead(BUTTON_PIN); // read new state

  if(lastButtonState == HIGH && currentButtonState == LOW) {
    Serial.println("The button is pressed");

    // toggle state of relay
    relayState = !relayState;

    // control relay arccoding to the toggled state
    digitalWrite(RELAY_PIN, relayState);
  }
}
Arduino Code – Button Toggles Relay With Debouncing
#include <ezButton.h>

// constants won't change
const int BUTTON_PIN = 7; // Arduino pin connected to button's pin
const int RELAY_PIN  = 3; // Arduino pin connected to relay's pin

ezButton button(BUTTON_PIN);  // create ezButton object that attach to pin 7;

// variables will change:
int relayState = LOW;   // the current state of relay

void setup() {
  Serial.begin(9600);         // initialize serial
  pinMode(RELAY_PIN, OUTPUT); // set arduino pin to output mode
  button.setDebounceTime(50); // set debounce time to 50 milliseconds
}

void loop() {
  button.loop(); // MUST call the loop() function first

  if(button.isPressed()) {
    Serial.println("The button is pressed");

    // toggle state of relay
    relayState = !relayState;

    // control relay arccoding to the toggled state
    digitalWrite(RELAY_PIN, relayState);
  }
}
Working Explanation
The first step is to connect the push button switch to a digital input pin on the Arduino UNO, and the relay module to a digital output pin on the Arduino UNO. Once the hardware is set up, the next step is to open the Arduino IDE and create a new sketch (program). In the setup() function, the input and output pins for the push button and relay module are configured using the pinMode() function. The serial communication is also initialized using the Serial.begin() function.
In the loop() function, the digitalRead() function is used to read the state of the push button. When the push button is pressed, the digitalRead() function returns a value of HIGH. A conditional statement is used to check the state of the button, and if the button is pressed, the state of the relay is toggled using the digitalWrite() function, this will turn on or off the connected AC appliances.
Applications
- Automotive
- HVAC
- Medical Equipment
- Agricultural Automation
- Aquaculture
- Audio/Visual
- Construction
- Energy Management
- Environmental Control
Conclusion
We hope you have found this Arduino Button Toggle Relay Circuit very useful. If you feel any difficulty in making it feel free to ask anything in the comment section.
Related posts:
 How to Interface Mini SD Card Module with Arduino UNO
 Interfacing H5V4D 433MHz RF Receiver Module with Arduino
 Auto Switch off Light Circuit
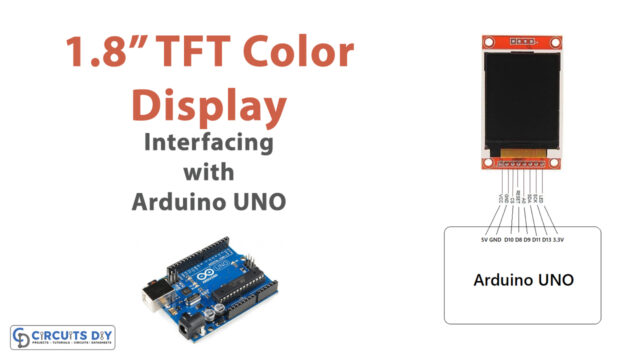 How to Interface 1.8" TFT Color Display ST7735 with Arduino UNO
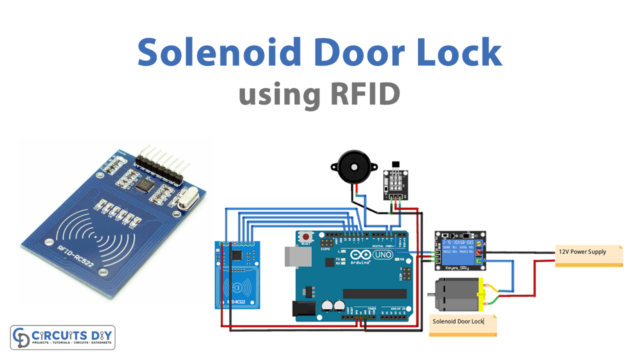 Arduino Solenoid Door Lock using RFID
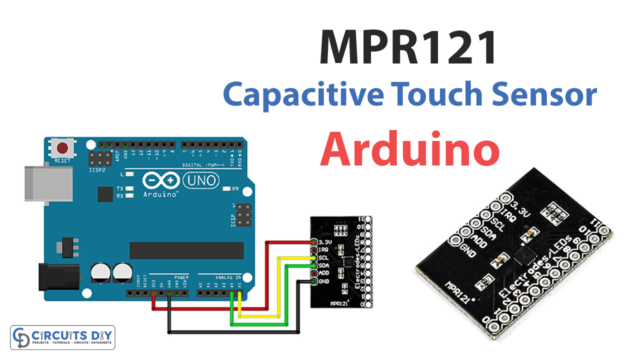 Interfacing MPR121 Capacitive Touch Sensor Module with Arduino


