Have you ever got a computer with a price range under 5 dollars? If not, then you must have not known about the raspberry pi yet. A mini-computer that was made for educational purposes. And, now used widely in different electronic components. As an electronic student or a beginner, you might have heard its name from your teachers or seniors. But, nobody has guided you enough in such a way that you thought to start learning or understanding that. No problem, we are here with an exciting beginner’s guide to the raspberry pi that may help you to kick start with it.
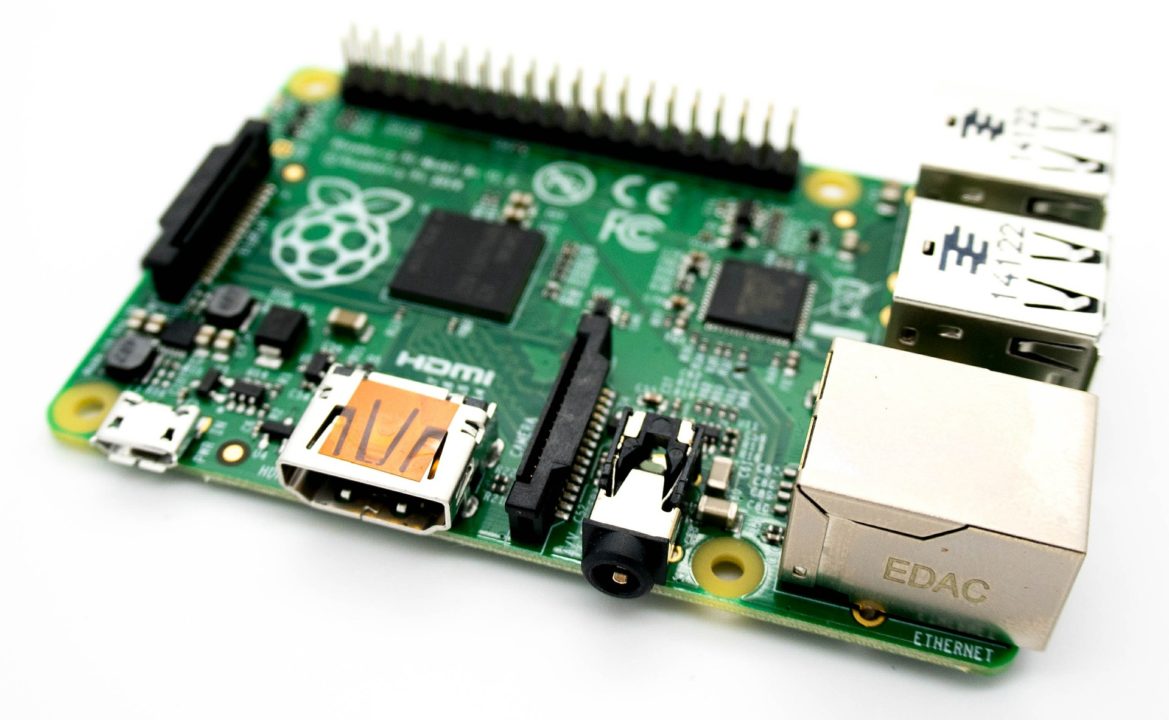
What is Raspberry Pi?

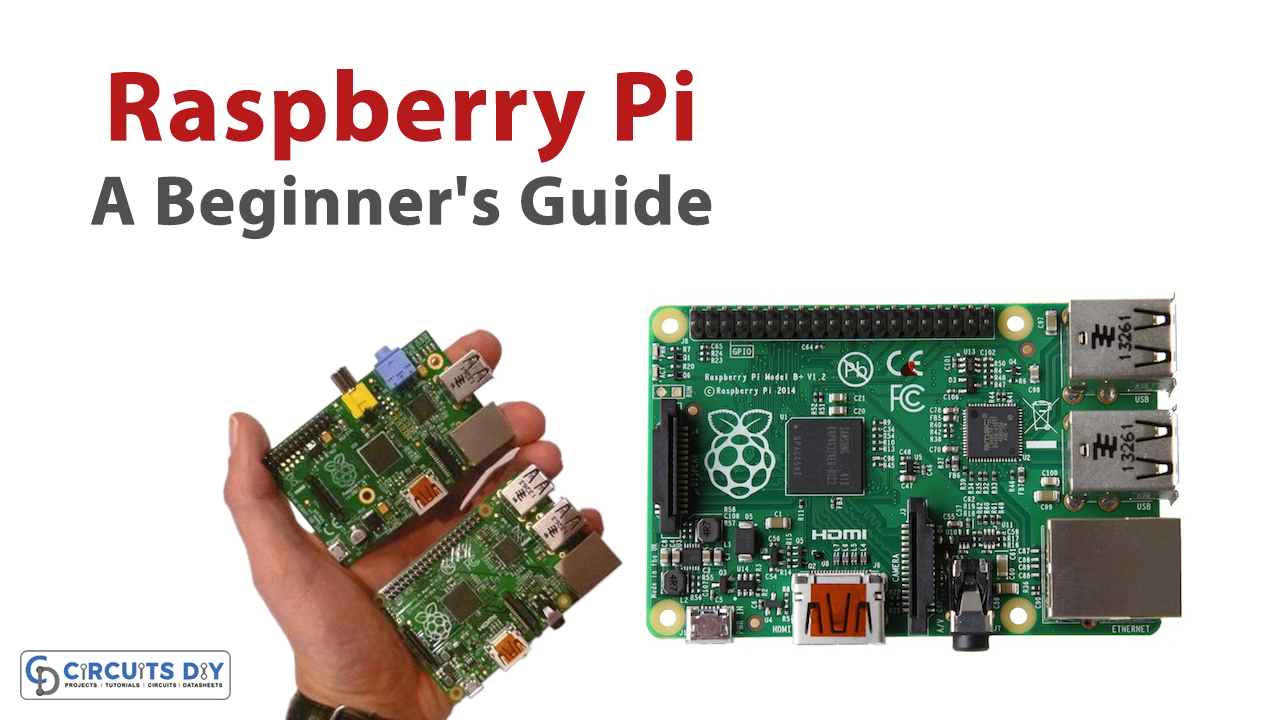
Many people have the misconception that raspberry pi is like the microcontroller that is used in several electronic projects. In contrast, it’s not just a tool used in electronic devices or types of equipment but much more than that. Raspberry Pi is basically the whole computer in the palm of your hand. Isn’t it surprising to you how a small device can be a computer? Well! it has everything that a computer has. You can say, it has everything that a person needs to connect computer equipment like a monitor, keyboard, wi-fi, Bluetooth, etc. Thus, you can browse the internet, can make spreadsheets, play games, etc. Also, It has a quad-core processor and RAM of up to 8 gigabytes and much more other features that we’ll discuss later in this article.
So, you can use it as a computer but as for the electronic engineers, students and programmers you may get many other advantages from this small computer. You can use this in the site projects. For example, you can run robots through this, you may use it to make a smart TV by this. Hence, this can allow you to do much more in programming as well as in electronics. So, we can say that this small motherboard can do much more than we can imagine. So, in this article, we will discuss two important things:
- Raspberry Pi Board.
- Installation and setup of the operating system for Pi.
- Programming on raspberry pi
But, before starting anything you must know the history of that. So, first, we’ll discover its history.
History and Evolution of Raspberry Pi
The Idea
In 2006, some scientists comprehended that many undergraduate students are not aware of or lacking in technical knowledge of computers. Students use computers but do not understand the technical aspects of computing. Edon Upton, one of the founders of this mini-computer raspberry pi said in one of his interviews that, “a group of us in Cambridge start to get a bit concerned about the number of people who would like to study computer science used to have a very large number of people“. Hence, they decided to make a cheap mini-computer for the educational objective.
First Launch
The team worked on that for at least 6 years, and then in 2012, they released the first version, having 512 MB f RAM and 26 GPIO pins. Soon after its release, it got sold more than 20 million units. After several revisions, it has been available in different models, Model A and Model B. Model A is quite cheap and simple, while model b is powerful having ethernet connectivity.
Different Versions of Pi
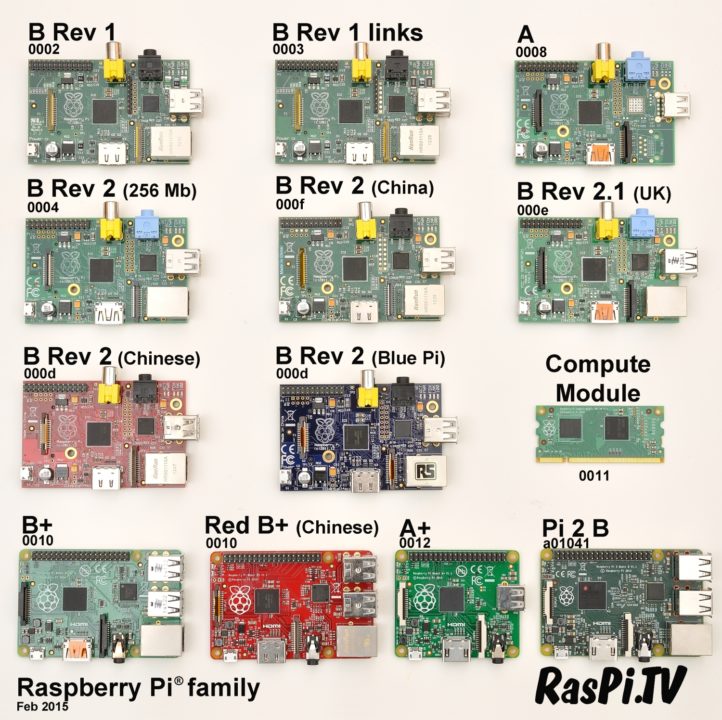
In 2015, the Raspberry Pi 2 Model B, a new version got released, having some powerful features including 1 GB of RAM, 4 cores, and 40 GPIO pins. In the same year in November 2015, the Raspberry Pi Zero Model got released for small projects, having 512 MB of RAM. This version was only about 5 dollars. In 2016, the third edition of Raspberry pi 3 came out, having Wi-Fi and Bluetooth features. In February 2017, a new version of Zero got introduced named Raspberry pi zero W. All the features are the same as Zero except that now it has Wi-Fi and Bluetooth available. Hence, this version helped the user with small projects. After that, in 2018 a new version has launched called Raspberry pi zero WH, having all the same features as Zero W but now with the already soldered header.
In March 2018, Raspberry Pi 3 B+ launched having additional features and components to the Pi 3 Model. In the same year on November 15, a smaller version of the Pi 3 B+ got introduced, known as Raspberry Pi 3 Model A+. This is called a smaller version because it contains less RAM. In June 2019, a new version got released named Raspberry Pi 4 B. This fourth edition also has Power over ethernet Hat and the price is higher than other versions present at that time. And is about 35 dollars. Then Raspberry Pi 4 B 8GB got released in 2020, having more RAM than before. After that, in the same year, the Raspberry Pi 400 got launched, having improved CPU clock speed and can directly be integrated into a keyboard.
Latest Version
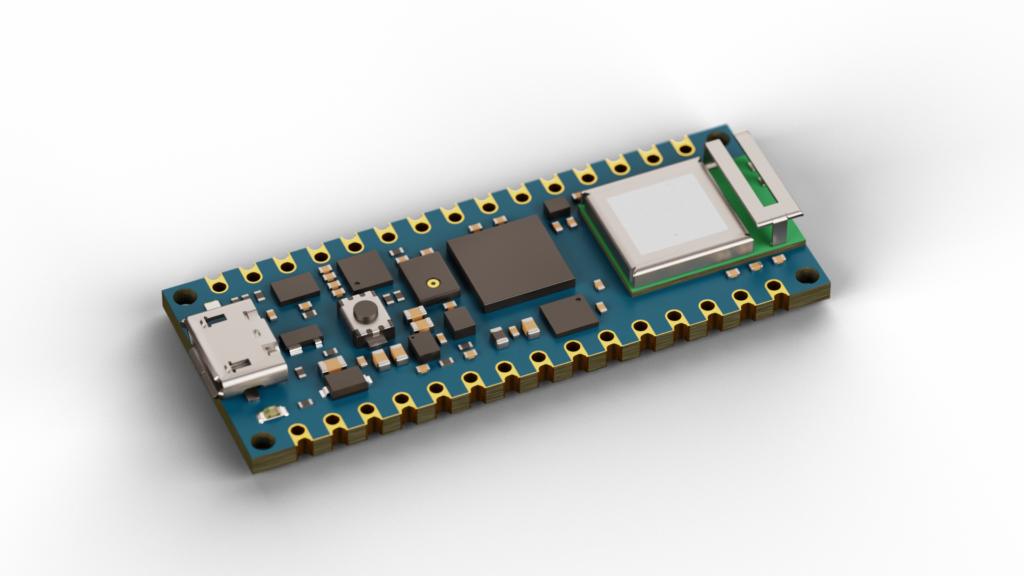
Now, this year a new version got released that caught the attention of electronic students as this is not the same pi. It’s not like a mini-computer but is similar to Arduino Nano generally. And is basically a raspberry pi microcontroller known as Raspberry Pi Pico. Since this is the new version that needs changes, hence, for now, Bluetooth, wi-fi, and ethernet are not available.
Raspberry Pi Board
As we have discussed with time the pi board got evolved and changed over the years. Thus, we in this article would discuss the features or specifications of Raspberry Pi 3. The Raspberry Pi 3 board got launched in February 2016. Now, let’s discuss the board components.

On-chip Processor
The Broadcom BCM2837 System on a chip includes an Arduino A53 processor. It has a 1.4 GHz high-performance ARM Cortex-A53 quad-core processor along with 32kB Level 1 and 512kB Level 2 cache memory and 1 GB RAM. Also, it has a VideoCore IV graphics processor which is connected to a 1GB LPDDR2 memory module. Hence, we can say that this system-on-chip processor contains CPU, GPU, and SDRAM. Let us understand this through easy words.
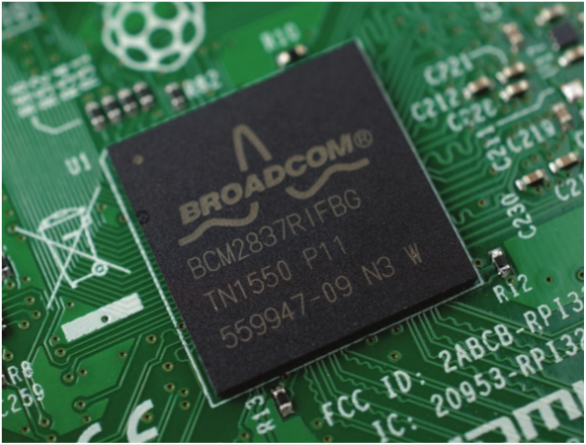
- CPU Clock: Since we all know that the central processing unit is the brain of pi. Thus, this pi uses an ARM Cortex-A53 quad-core processor having 1.4GHz of clock frequency.
- GPU: GPU, The graphics processing unit is a special chip designed to deal with the complex mathematics required to render graphics. So, this pi board has VideoCore IV.
- SDRAM: The pi board has 1GB of SDRAM which is shared between the Graphics processing unit and Central processing unit.
Ports
USB Ports
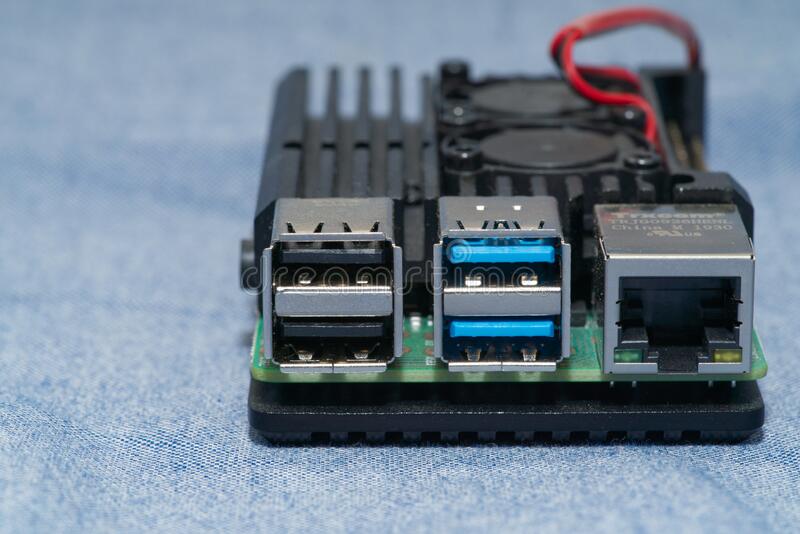
The raspberry pi 3 includes four USB Ports that allow the user to connect four USB cables at a time.
Ethernet Port
The raspberry pi 3 Model includes an ethernet port. The main purpose of this port is that it allows ethernet connections. It enables the user to make ethernet connections between computers, modems, servers, routers, printers, switches, etc. The raspberry pi 3 supports 10/100 Mbps ethernet.
HDMI Port
To allow high-definition devices like monitors and televisions, or to stream video or audio to your computer or TV, raspberry pi 3 includes the HDMI port. Hence, it’s like a digital interface, that allows to transmit or receive both audio and video signals.
CSI Port
To interface the camera, the camera serial interface (CSI) is available. One can directly connect the Pi camera module through that.
SD Card port
Raspberry Pi model 3 provides a feature of external storage. For external storage, it provides an SD card port.
Wi-Fi and Bluetooth Interface
This version of raspberry pi has a Wi-Fi and Bluetooth interface that allows the board to communicate with the external world. Further, it also helps to create different IoT devices with the help of Wi-Fi and connect to electronic devices via Bluetooth.
GPIO Pin Connectors
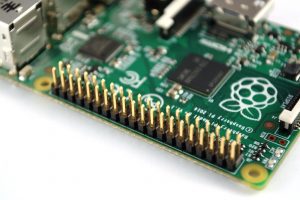
To connect with other external devices or electronic components, these pins are a real fascination for electronic engineers. Because it allows a user to interface raspberry pi with electronic devices and circuits. Thus there are 40 General purpose input/output pins there. Hence the behavior of these pins can be controlled by programmers and engineers. If you see the diagram, it is quite confusing because, with every pin, there are two numbers attached. Don’t get worried, the one written in the circle is the Board number while the other one is the Broadcom channel number (BCM) defined by the Broadcom chip brain of pi. While coding you must have to define the convention. Moreover, these GPIO pins include different pins used for different purposes. We will discuss the pins according to their board numbers. Hence you can find the BCM/GPIO number in the given diagram.
Description of GPIO Pins
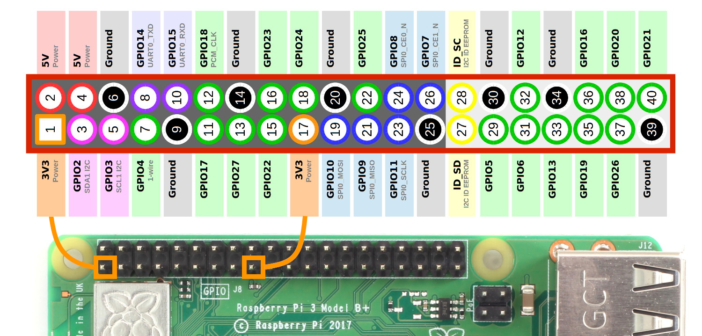
- Power Pins: The pi has 4 power pins. Pin 2 and 4 are for 5 volts while pins 1 and 17 are for 3.3V
- Ground Pins: There are 8 ground pins available which are pins 6, 9, 14, 20, 25, 30, 34, 39.
- PWM Pins: Pins 32, pin 33, pin 35, and pin 12 are used as pulse width modulation pins. Thus, these are the hardware PWM pins. Software PWM can be available at all pins
- UART Pins: There are two main universal asynchronous receiver and transmitter pins available to allow communication between pi and microcontroller or computer, etc. Pin 8 is a TX UART pin that allows transmitting of serial data while pin 10 is the RX UART pin, enabling to receiver of the serial data.
- SPI Pins: To communicate between one or more than one peripheral device, there are pins called the Serial Peripheral Interface. However different SPI pins have different purposes. For example, SCLK ( pin 11, 21) is the clock of SPI. To send data from master to slave MOSI pins (10, 20) is used. And, to receive data from slave to master a pin called MISO pins ( 9, 19 ) is used. There are two chip enable, that is CE pins (8, 7, 18, 17) available. A user needs to connect one CE pin per peripheral device for their circuit. There are two SPI pins available. SPI0, SPI1. Pin 11, 10, 9, 8, and 7 belong to SPI1 while pin 21, 20, 19, 18, and 17 belongs to SPI1.
- 12C Pins: Pins 3, 5, 27, and 28 are 12C pins for data, clock, EEPROM data, and EEPROM clock respectively. Hence, it allows two-wire communication between sensors, modules, etc
Installation and Setup of Operating System
Now to use a raspberry pi, a user needs to install and set up the operating system. Hence, Raspbian is the official operating system of the raspberry pi. It is said that Raspberry is named Raspberry because of the OS lesbian and pi because it supports Python language. However, there is New out of Box Software (NOOBS) that supports several other operating systems including Raspbian. Most people use noobs because it’s easier to install.
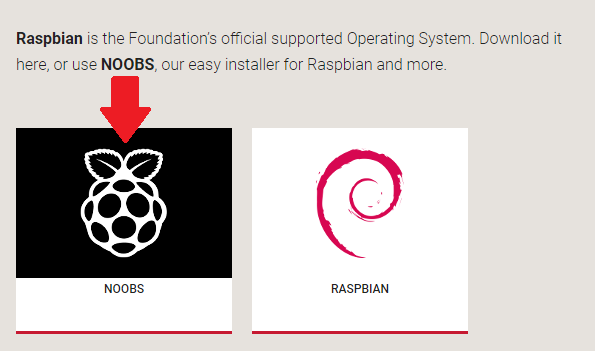
Download NOOBS
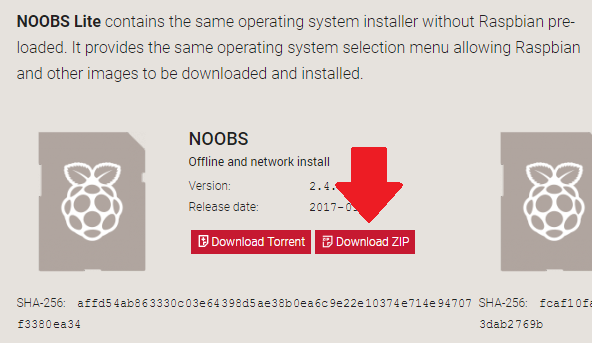
Thus, first, you need to download NOOBS from the official website of raspberry pi in zip format. After downloading extract the zip file by clicking on extract all. After extraction goes to the NOOBS directory. Now, this directory has everything that you require to copy to the SD card.
Copy the Files to the SD Card
Now it’s time to copy all these files that s in the noob directory into the formatted SD card. After copying all the files, eject the SD from the computer and put it in the SD card slot of the Raspberry Pi board.
Connect the Mouse, Keyboard, and Monitor
Now connect the USB cables of the mouse and keyboard of your computer to the USB slot of the Pi Board. Connect the Monitor to the board through an HDMI cable. Also, give power to the pi board.
Install Respbian
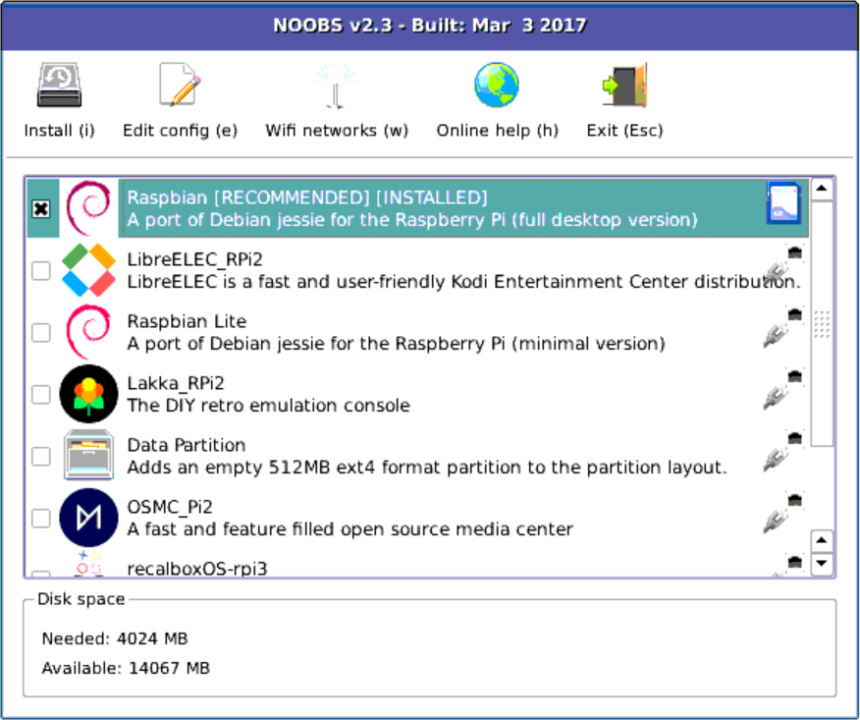
Now after power-up, a window would appear showing some options depending on your installed version of noobs. Click on Raspbian to install that. After the installation, a dialogue box will appear. Click on OK. This would reboot your pi automatically not Raspbian Desktop.
Setup
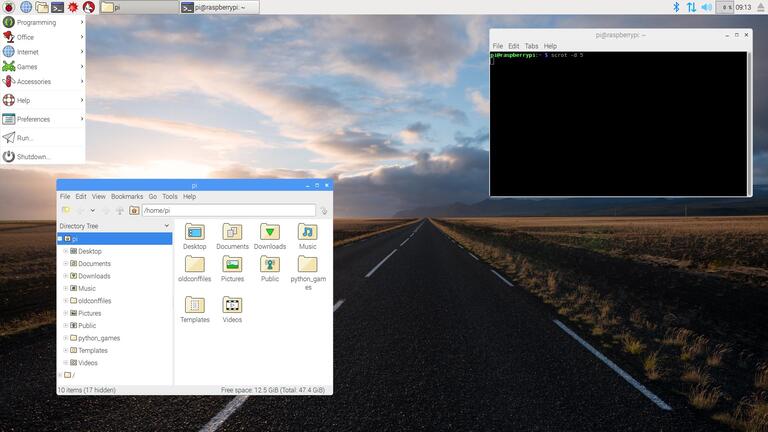
At first, raspbian has its setup where it asks you about your country, to change the password of your Pi, your wi fi network, and the password of your wifi. Then it checks the update and after that, you can get started with the pi. Now, you can use this as a normal computer. It has a web browser, video, and audio player office, etc.
Programming on Raspberry Pi
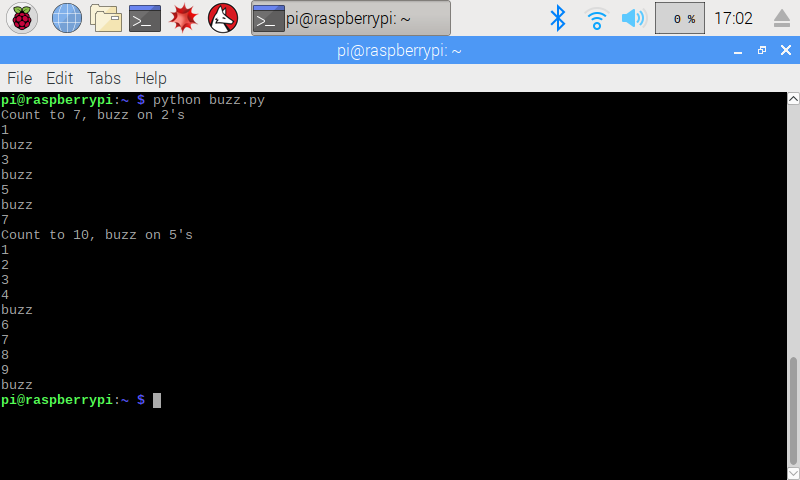
Under the programming menu, you can find different editors for different programming languages. Electronic and programming students can make various programs for their projects. Hence, this small brain is doing wonders in various fields.
