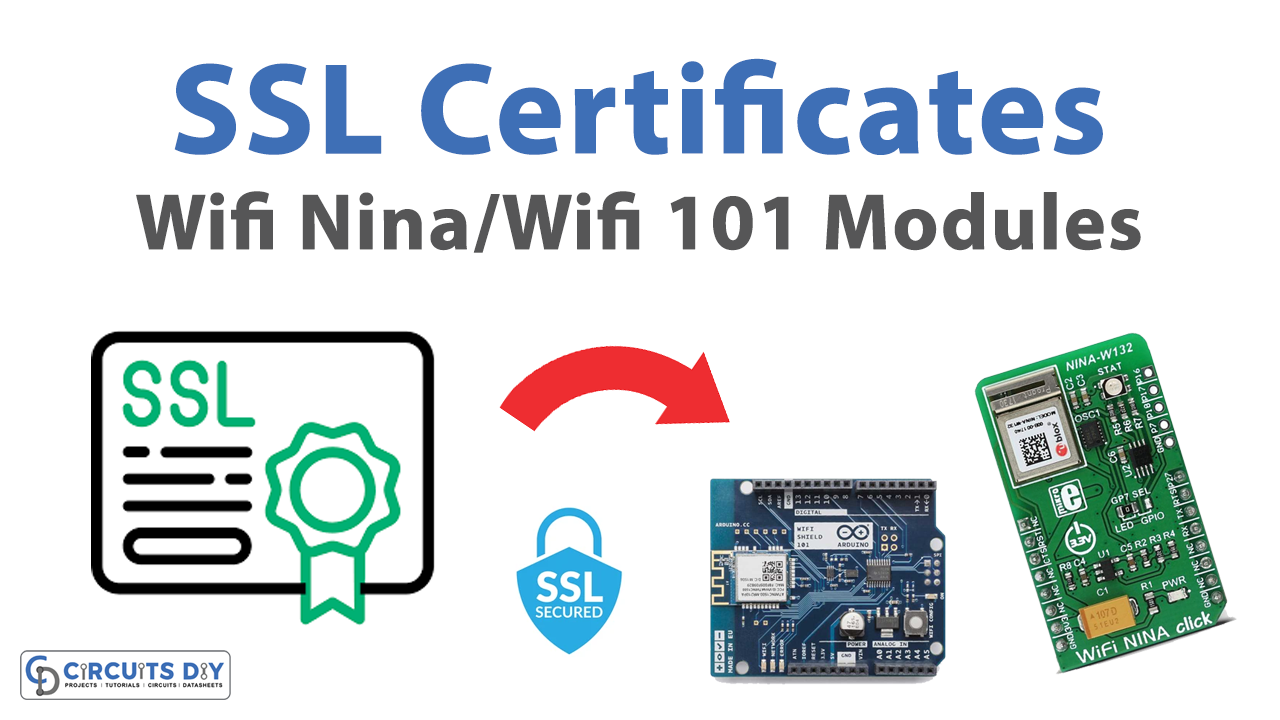
The WiFi Nina/WiFi 101 modules are popular components used in many IoT projects that require wireless connectivity. These modules are equipped with advanced features and can be used to connect to WiFi networks. However, to establish a secure connection, it is essential to add certificates to these modules. In this article, we will discuss how to add certificates to WiFi Nina/WiFi 101 Modules.
Before we dive into the details of adding certificates, let’s understand what certificates are and why they are important. A certificate is a digital document that is used to verify the identity of a user or a device. In the context of WiFi, certificates are used to verify the identity of the WiFi network to which the device is connecting. By adding certificates to the WiFi Nina/WiFi 101 Modules, you can ensure that the device is connecting to a trusted network, which will help prevent unauthorized access and ensure data security.

The process of adding certificates to the WiFi Nina/WiFi 101 Modules can be divided into two parts: obtaining the certificate and adding it to the module. To obtain or buy SSL certificate, you should contact authorized resellers as they also offer free installation service as an after-sales service
Adding the certificate to the module:
To add the certificate to the WiFi Nina/WiFi 101 Modules, you need to follow these steps:
- Install the Wi-Fi module library according to the board you’re using
- Open Arduino
IDE>Sketch>Include library>Manage libraries - Search for WifiNina or Wifi101 (depending on your board) and Install it.
- WifiNina: Arduino UNO WiFi Rev.2, Arduino Nano 33 IoT, Arduino MKR 1010, and Arduino MKR VIDOR 4000 WiFi.
- Wifi101: Arduino WiFi Shield 101, and MKR1000 board.
- Connect the WiFi Nina/WiFi 101 Module to your computer using a USB cable.
- Open the Arduino IDE and select the appropriate board and port from the Tools menu.
- Search for the “Firmware updater” sketch that is in
Example > Wifi101/WiFiNINA > Firmware updaterand upload it to the board. - After the sketch has been uploaded successfully, open
Tools > Wifi101/WifiNINA Firmware updater.
- Now that the firmware updater is launched, select the port of the Wi-Fi module you want to update. Skip section 2, since we are not updating the firmware in this tutorial.
- In section 3, “Update SSL root certificate”, click on
Add domain. - A small dialogue box opens where you must enter the website from which you want to add the SSL certificate, then click
OK. - Now, select the website in the list and click on
Upload Certificates to WiFi module. - A small success dialogue box opens and your certificate is now uploaded to the board. Click on
OK.
Conclusion
Once the code is uploaded, the WiFi Nina/WiFi 101 Module will use the certificate to establish a secure connection with the WiFi network.
In conclusion, adding certificates to the WiFi Nina/WiFi 101 Modules is a crucial step in ensuring the security of your IoT project. By following the steps outlined in this article, you can easily add certificates to these modules and establish a secure connection with your WiFi network.

