Introduction
If you are adventurous and ever performed mountaineering, you must have used the Altimeters. For those who haven’t used this device, it’s primarily the device that is utilized to measure the pressure. As the mountaineers climb from sea level to the mountains, the pressure of air gets lower. Hence, it is necessary to measure the pressure at different altitudes. Practically, the altimeters use the barometric sensor, which we are going to discuss in this article. Thus, In this tutorial, we are going to interface “BMP180 Barometric Pressure & Temperature Sensor with Arduino UNO”.
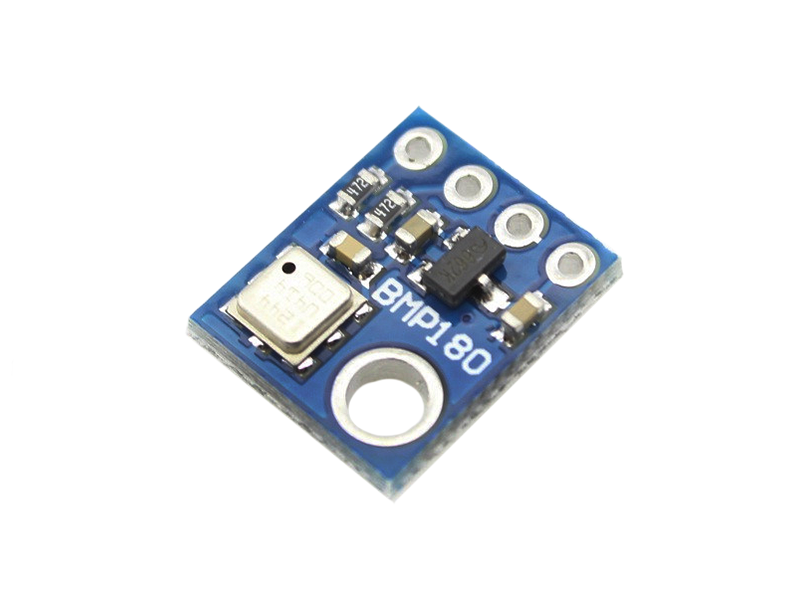
An Overview about BMP180 Sensor
The barometric sensor requires very few external components as it requires no initial calibration. The module has a chip inside, which is the heart of the sensor. Hence, this chip measures the temperature and pressure of the surroundings. It measures the temperature from -40 degrees celsius to 85 degrees celsius. Further, it estimates the pressure from 300hPa to 1100hPa from 9000m to -500 meters above sea level. The sensor has a 12C interface, so can be easily interfaced with any microcontroller.
Specifications about BMP180 Sensor
- The sensor needs a very low operating voltage of 1.3 V to 3.6v
- The sensor has a peak current of 1000uA
- The operating temperature range is -40 to 80 degrees.
Hardware Required
| S.no | Component | Value | Qty |
|---|---|---|---|
| 1. | Arduino | UNO | 1 |
| 2. | USB Cable Type A to B | – | 1 |
| 3. | Jumper Wires | – | 1 |
| 4. | Barometric Pressure & Temperature Sensor | BMP180 | 1 |
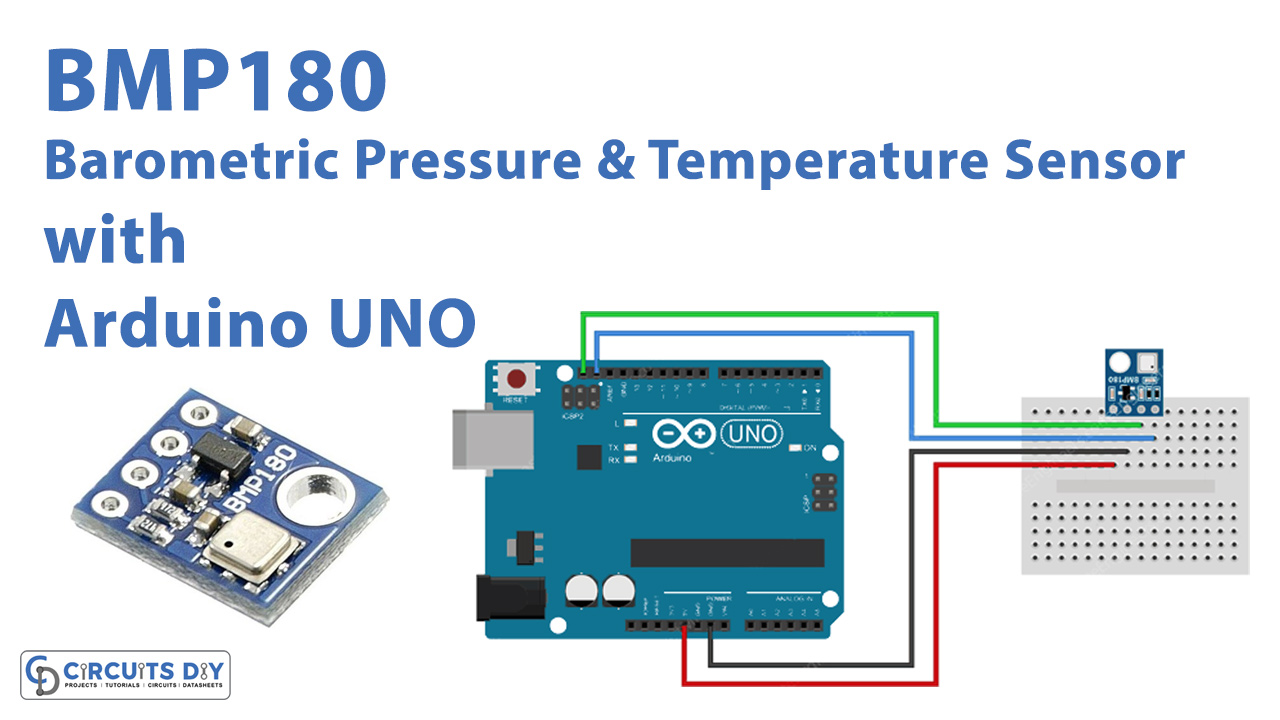
Circuit Diagram

Connection Table
| Arduino | Relay Module |
|---|---|
| 5V | VCC |
| GND | GND |
| A5 | SCL |
| A4 | SDA |
Arduino Code
#include <Wire.h>
#include <Adafruit_BMP085.h>
#define seaLevelPressure_hPa 1013.25

Adafruit_BMP085 bmp;

void setup() {
  Serial.begin(9600);
  if (!bmp.begin()) {
	Serial.println("Could not find a valid BMP085 sensor, check wiring!");
	while (1) {}
  }
}

void loop() {
    Serial.print("Temperature = ");
    Serial.print(bmp.readTemperature());
    Serial.println(" *C");

    Serial.print("Pressure = ");
    Serial.print(bmp.readPressure());
    Serial.println(" Pa");

    Serial.print("Altitude = ");
    Serial.print(bmp.readAltitude());
    Serial.println(" meters");

    Serial.print("Pressure at sealevel (calculated) = ");
    Serial.print(bmp.readSealevelPressure());
    Serial.println(" Pa");

    Serial.print("Real altitude = ");
    Serial.print(bmp.readAltitude(seaLevelPressure_hPa * 100));
    Serial.println(" meters");

    Serial.println();
    delay(500);
}
Working Explanation
To Interface BMP180 Barometric Pressure & Temperature Sensor with Arduino UNO, connect the circuit according to the schematic given above. Write the given code of this article in your Arduino IDE. Upload the code in Arduino UNO. Open the serial monitor and observe the different readings on the monitor.
Code Explanation
- Firstly, download the Adafruit BM085 library. You can download the library from
https://github.com/adafruit/Adafruit-BMP085-Library
- Include the downloaded library in the code. Also, include the wire library to communicate with the sensor. Now, declare the variable SeaLevePreassue_hPa to calculate the altitude of pressure. Create an object called bme to access some functions.
- Further, in the void setup, initialize serial monitor by serial.begin( ). Initialize the sensor by bme.begin( ). In the brackets write the the12C address. Now, formulate the loop that if the sensor is not found, the serial monitor would print a message that it could not find a sensor.
- After that, in the void loop, use readTepmerature( ), readPressure( ), readAltitude( ), readSeaLevelPressure( ) functions to read the readings from the sensor. Use print functions to print all the readings. After that, Give some delay time to get the next readings.
Application and Use
- In altimeters.
- In sports devices.
- Moreover, in computer peripherals.
- Also, in GPS systems.
- Further, in weather forecast devices.
- In the sports equipment.