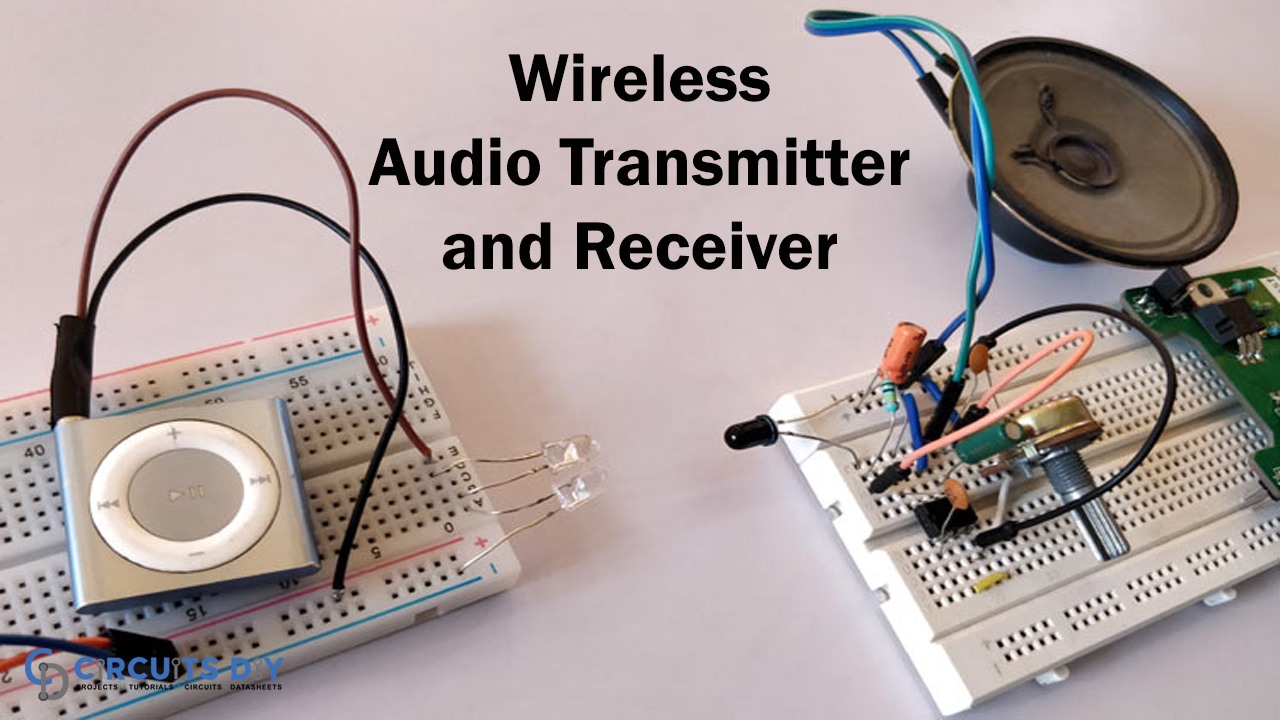
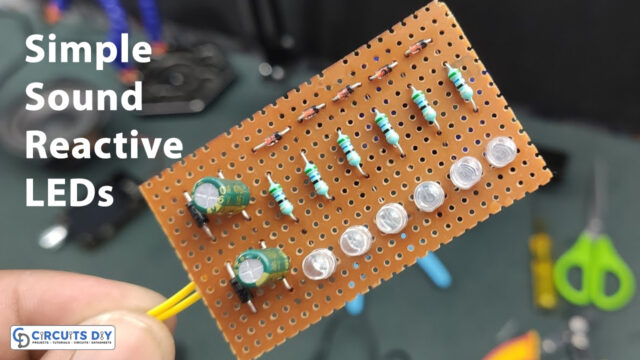
Infrared is the most widely used, limited-range wireless data transfer medium, and we have already discussed the basic IR and receiver circuit. Today we’ll learn in this article how to create an IR LED-based Crude Audio Transfer Circuit. You can play music from your iPod, handheld devices, or computers via this circuit from an external speaker, without connection via the AUX wired cord.
The circuit is somewhat limited in use; however, there are easier ways to play songs wirelessly, such as Bluetooth. Therefore, this article attempts to encourage you to learn simple audio circuits and construct them around the same time. This project’s circuit is also streamlined to make it easy and consistent to promote the design, so this project is only created for your learning purpose. Now let’s proceed with that!!
Hardware Component
The following components are required to make Wireless Audio Transmitter and Receiver Circuit
| S.no | Component | Value | Qty |
|---|---|---|---|
| 1. | Breadboard | – | 2 |
| 2. | IR LED | – | 2 |
| 3. | Audio Jack | 3.5mm | 1 |
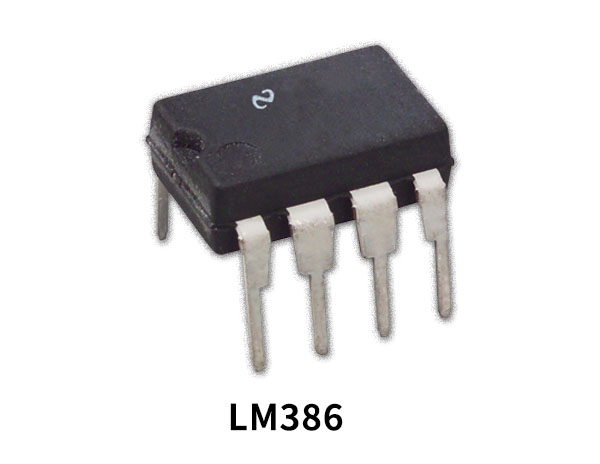
| 4. | IC | LM386 | 1 |
| 5. | Photo Diode | – | 1 |
| 6. | POT | 100K | 1 |
| 7. | Resistor | 1k, 10k, 100k | 1 |
| 8. | Capacitor | 0.1uF, 10uF, 22uF | 1 |
LM386 Pinout
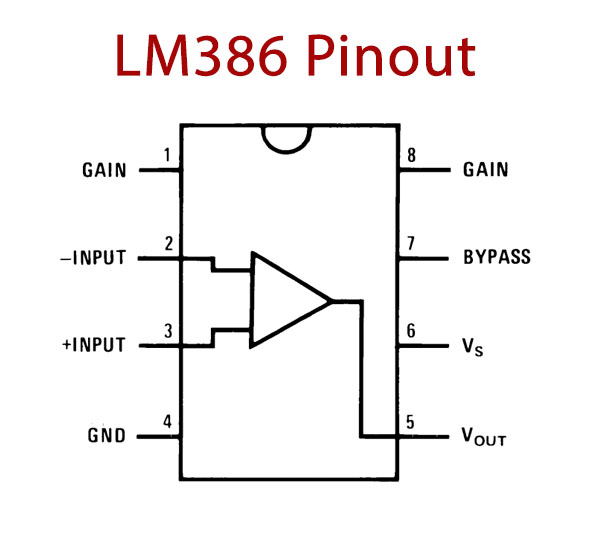
For a detailed description of pinout, dimension features, and specifications download the datasheet of LM386
Wireless Audio Transmitter and Receiver Circuit
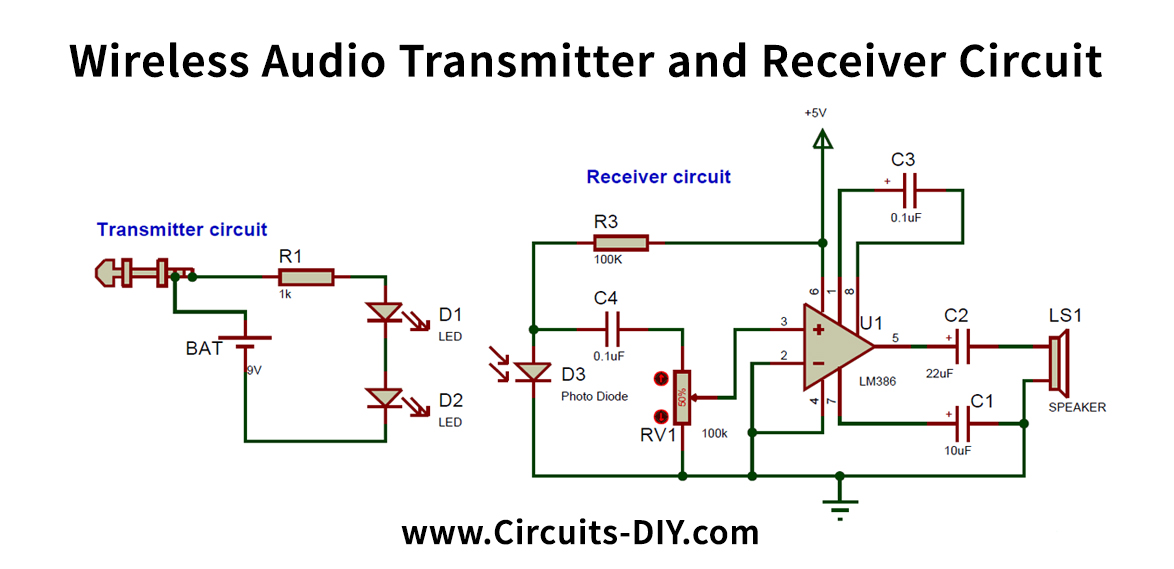
Circuit Operation
Only a few IR LEDs and resistors are directly attached to the audio source and battery in the transmission circuit. The connection of the audio jack to the circuit is one challenging work to encounter. A standard audio jack has three left and right earphone output pins, and the other is a grounded screen. We need one signal pin that can be left or right and one ground pin for our circuit. Moreover, you might locate the correct pinouts with a multimeter in relation.
A photodiode connected to a sound amplification circuit is given on the receptor circuit. With the famous LM386 IC, the audio amplification circuit has the advantage of providing a low demand for components. I have used my breadboard controller module to provide 5V to the circuit by employing a 9V battery. This is a power source that can also power from a voltage of 5V to 12V. The breadboard shows the transmitter set-up in the picture below.
Applications and Uses
This is a simple IR audio connector circuit used for wireless audio transmission.

