Introduction
Sterilization chambers are Biomedical electronic devices, designed with the intention to kill pathogens and other various kinds of microorganisms such as viruses by chemical means or physical means. Sterilization chambers commonly used in the health care environment consist of chemical or physical disinfectant systems and ultraviolet (UV) sterilization systems.
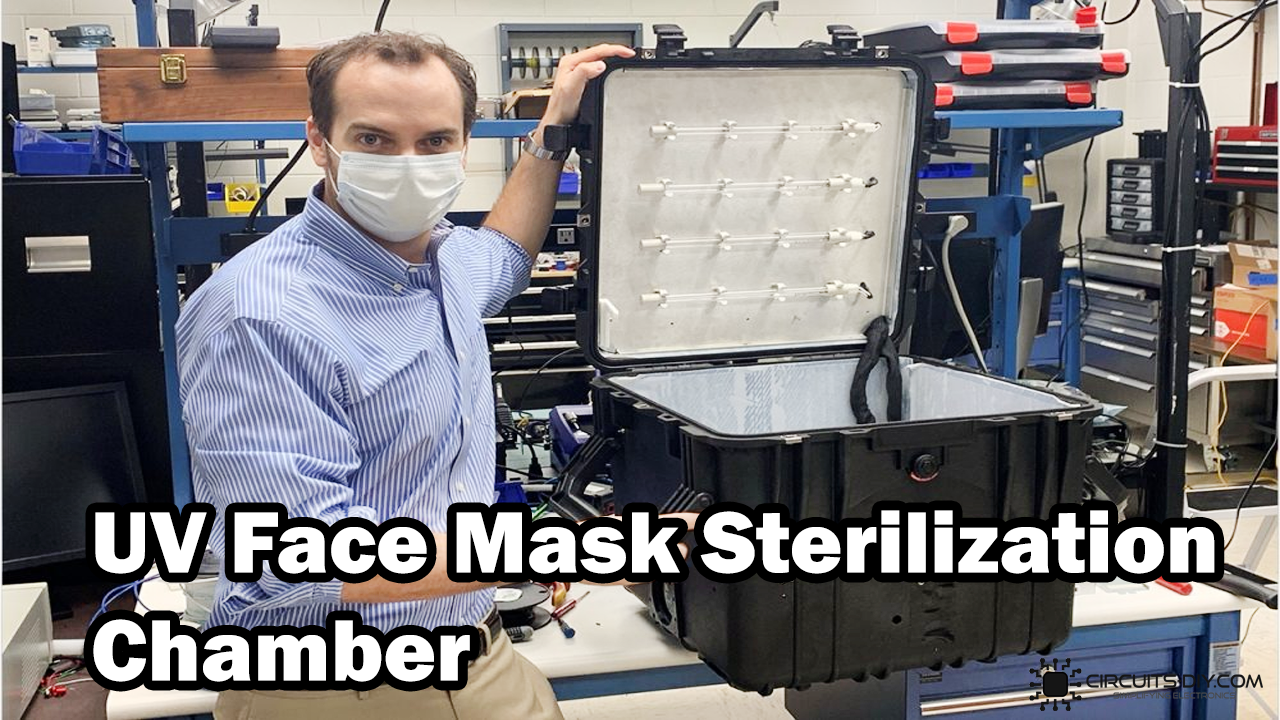
Due to the ongoing COVID-19 pandemic, the need & use of UV sterilization chambers has increased tenfolds, in order to sterilize reusable facemasks & medical equipment. But they are extremely expensive, making them almost impossible to be owned by the general public. So, In today’s tutorial, we are going to go over a step-by-step procedure on How To Make A UV Face Mask Sterilization chamber Using a small no. inexpensive components, most of which you can acquire within a common household.
UV sterilization chambers are devices that use UVA or UVC lighting fixtures to produce a germicidal effect. They are intended to augment the disinfection of health care environmental surfaces & equipment after manual cleaning has been performed.
Hardware Components
The following components are required to make UV Face Mask Sterilization Circuit
| S.no | Component | Value | Qty |
|---|---|---|---|
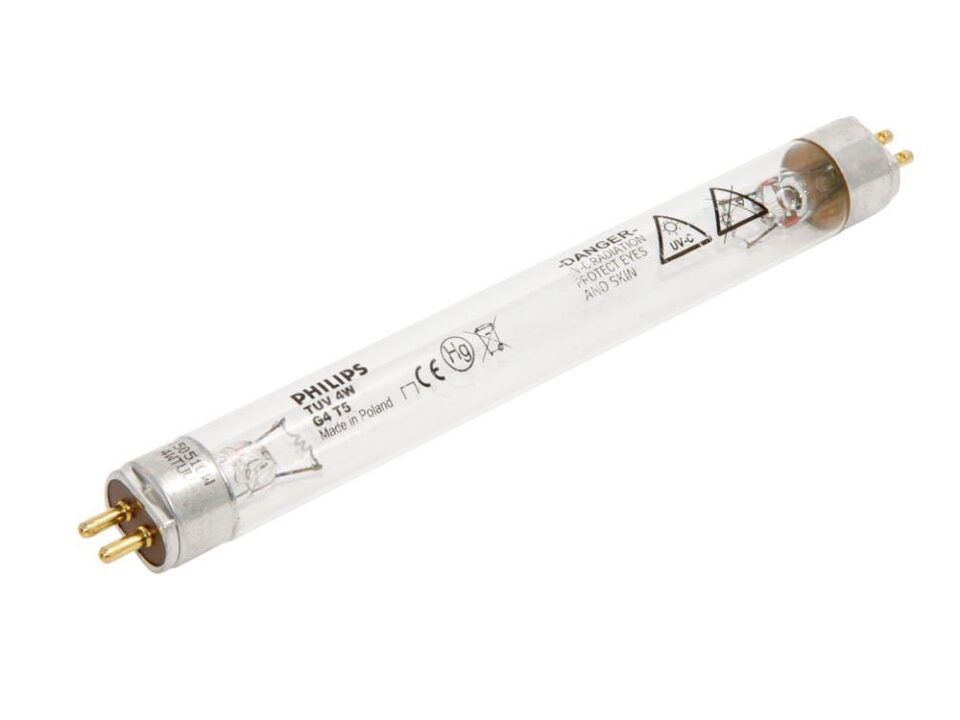
| 1. | UV Tubelight | 11W | 1 |
| 2. | Electronic Choke | 230V/45mA | 1 |
| 3. | Aluminum Foil | – | 1 roll |
| 4. | Transparent Plastic sheet | – | 1 |
| 5. | Plastic Box with Lid | – | 1 |
| 6. | Reflective metal sheets | – | 1 |
| 7. | Connector plugs | 2 pin, Female | 1 |
| 8. | Hot glue gun | – | 1 |
| 9. | AC Wall Outlet | 220V | 1 |
11W UV Light
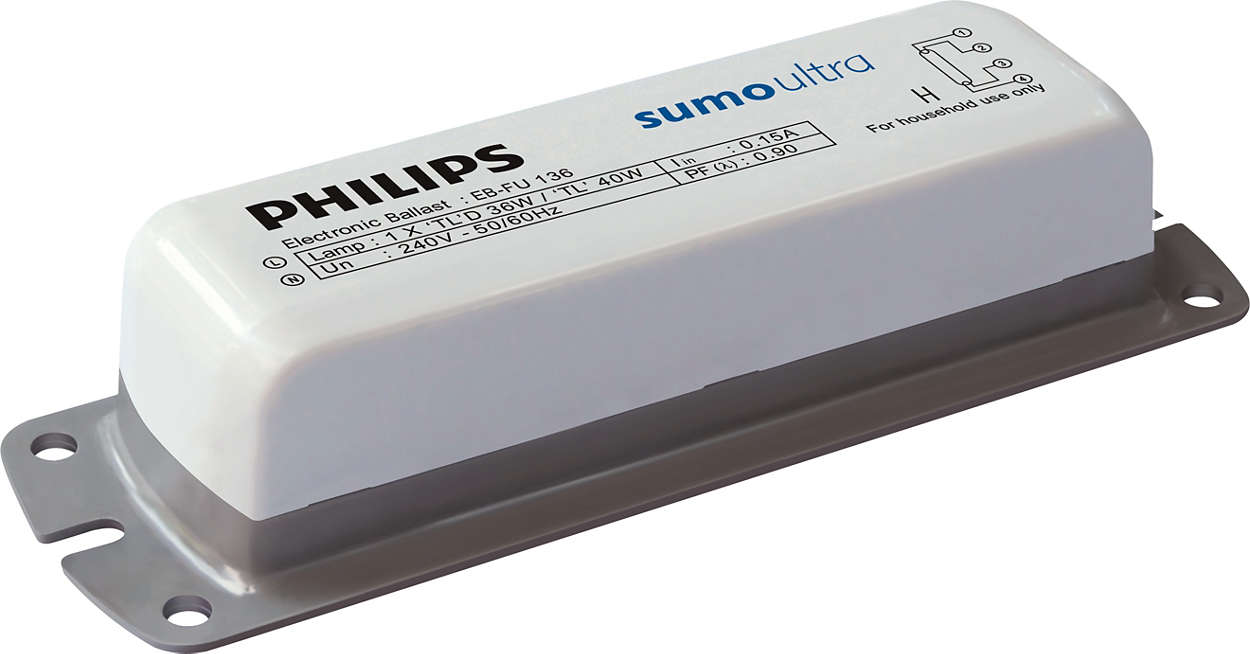
Electronic Choke
Useful Steps
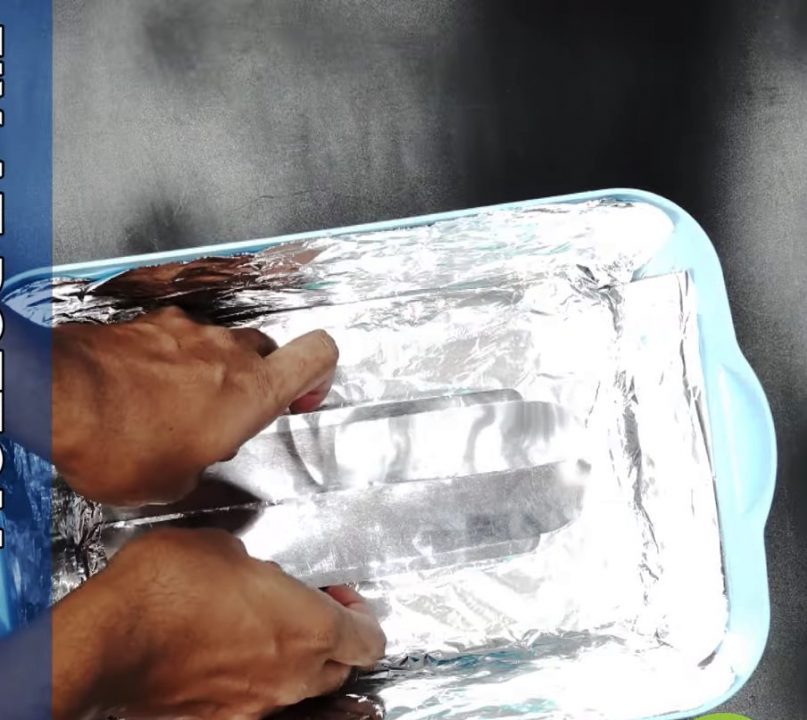
1) Cover the bottom surface & the walls of the plastic box (along with the base of the lid) with aluminum foil & reflective metal strips using a glue gun.
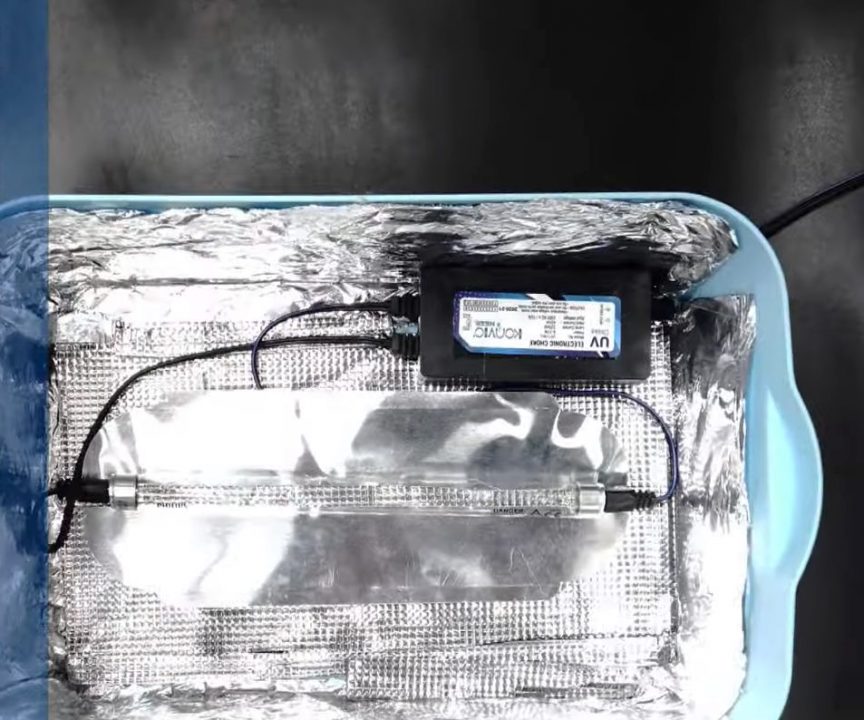
2) Place the electronic choke in the box. Now place the 11W UV in the box along the length of the box.

3) Cut out a small cavity in the plastic box to pass the electronic chokes supply cables. After that, fix the electronic choke permanently in the box using hot glue.

4) Now connect the +ve & -ve terminals of the UV tube light with the output of the choke supply cables. Also, fix the UV light in the box using plastic pegs & hot glue. This will keep the UV tube light from jerking around in the box.
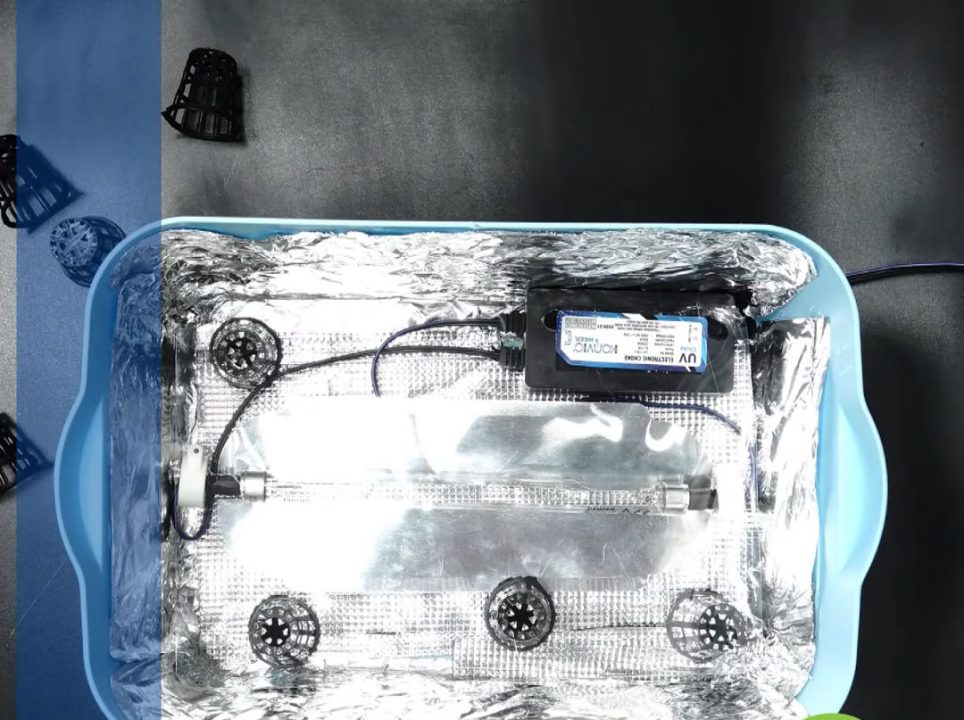
5) Solder some plastic pieces on the base of the thin plastic sheet & place it about on top of the UV lighting fixture. This will serve as a raised platform (1-2″ high) for you to place objects to be sterilized.
6) Cover the plastic box with the lid. Power up the circuit using a 220V wall outlet & test the circuit.

Working Explanation
The working principle of this sterilization chamber is very simple. On closing the lid & turning on the power, the UV rays continuously bounce against the walls & base of the box (and the lid), covering any object placed in the box with UV light in its entirety. Thus, killing any pathogens or viruses that may be living on it.
In order to use this UV sterilization chamber: simply place the object to be sterilized (facemask) on the raised transparent sheet & seal the lid of the box. After that, connect the power to the UV light. It will take approximately 3 – 5min for the sterilization process to complete. when 5 min is up, simply switch off the power to the UV light & retrieve the sterilized object. NEVER look at the UV Tube light directly when it’s powered ON, as it is extremely harmful & may be hazardous for your vision.
Applications
- It can be used to sterilize all manner of tools & equipment, in order to kill pathogens & viruses.

